Last updated November 18, 2026




Free written scope consultation - allowances, timeline, and change-order rules on paper before a single trade is scheduled
Kitchen Remodeling Troubleshooting: Common Problems and How to Fix Them
A cabinet door that won’t close flush three months after install usually isn’t a hinge problem. It’s a levelness problem that started when the floor wasn’t checked before the boxes went in. Most of the “contractor mistakes” homeowners call us about were actually decisions made in the planning phase, and knowing how to diagnose the root cause is the difference between a $200 fix and a $4,000 one. This guide walks through the problems we see most often in Whitney kitchens, separates the cosmetic from the structural, and shows you how to document an issue so a legitimate contractor can actually resolve it.
Quick Answer
Most kitchen remodeling problems trace back to three root causes: a floor or wall that wasn’t checked for level and plumb before cabinets and countertops went in, a substrate that flexes because it wasn’t properly prepped before tile, and a measurement that was never confirmed before demo. Cosmetic failures like caulk gaps and paint bleed are usually a one-visit fix. Structural failures like unlevel cabinet runs, cracked countertops, and grout that keeps reopening need the underlying cause corrected, not just the surface patched.
Styles & brands we work with
- Kitchen remodeling
- Bathroom remodeling
- Home additions & ADU
- Roofing
- Windows & doors
- Driveway & pavers
- Fence
Table of Contents
- Cosmetic Failures vs. Structural Failures: Who’s Responsible for What
- Cabinet Doors That Won’t Close Flush: Diagnosing the Real Cause
- Grout Cracking in a New Backsplash: Surface Symptom or Substrate Problem?
- When a New Appliance Doesn’t Fit the Opening
- Electrical and Plumbing Rough-In Problems Found After Drywall
- Countertop Problems: Improperly Shimmed and Unevenly Settled Tops
- How to Document a Problem So It Actually Gets Fixed
- Why Whitney Conditions Affect Kitchen Work
Cosmetic Failures vs. Structural Failures: Who’s Responsible for What
Before you call anyone, decide which category your problem falls into. The response time, the cost, and who pays all depend on it.
Cosmetic failures are surface-level and don’t affect how anything functions. Think a caulk line that pulled away from the wall within a month, paint that bled onto trim, a slightly uneven grout line, or a filler strip that wasn’t sanded smooth. These are almost always covered under a workmanship guarantee and get fixed in a single short visit. They look bad, but they aren’t getting worse.
Structural failures affect function or safety and will worsen over time if the cause isn’t corrected. A cabinet box that’s out of level, a countertop that rocks when you press on a corner, a door that won’t stay closed because the frame is twisted, water staining under a sink from a rough-in that wasn’t pressure-tested. These need diagnosis, not a patch.
- Patching the surface without finding the cause is the number one reason a “fixed” problem comes back six weeks later. If a contractor’s plan is to re-caulk the same joint for the third time, ask what’s moving underneath.
- Structural problems warrant a written timeline. Ask in writing when they’ll diagnose, when they’ll return, and what the remedy is. A legitimate contractor welcomes that request.
- Responsibility depends on cause, not symptom. A door that won’t close because the hinge is defective is a product issue. The same door on a floor that wasn’t leveled at install is a workmanship issue. The fix is the same; the accountability isn’t.
If you’re planning the project now and want to avoid these problems altogether, our Kitchen Remodeling in Whitney page walks through how we sequence a job so level, plumb, and measurement checks happen before anything gets installed. This guide assumes something already went wrong and you need to sort it out.
Cabinet Doors That Won’t Close Flush: Diagnosing the Real Cause
Doors out of alignment are the single most common complaint we get called in on, and hinges are rarely the culprit. Work through this diagnostic in order before assuming you need replacements:
- Check the floor under the cabinet run. A floor that varies more than 1/8 inch across the run will telegraph into the cabinet box. If the boxes weren’t shimmed level, the door reveals will be inconsistent no matter how many times an installer adjusts the hinges.
- Look at the door gap consistency. A door out of square will have one gap tighter at the top than the bottom. A hinge that’s simply out of adjustment has parallel gaps that are just too wide or too narrow.
- Press on the corner that’s not flush. If the whole cabinet box rocks, it’s a leveling problem, not a door problem.
- Check the cabinet itself against the wall. A wall out of plumb means the cabinet box may be square but the doors are running crooked relative to the wall.
If the answer to step one is “the box isn’t level,” hinge adjustment won’t fix it permanently. The right repair is to reset the cabinet by re-leveling the boxes and re-shimming, which is real work. The wrong repair is to grind a hinge face into submission and hand you a door that closes on the day and doesn’t in three months.
What “flush” actually means
A door is flush when the face sits parallel to the cabinet frame within about 1/16 inch across the whole run. That’s a levelness specification, not a hinge specification. If a contractor you call can’t tell you which one failed, ask for that in writing before agreeing to the repair.
Grout Cracking in a New Backsplash: Surface Symptom or Substrate Problem?
Cracked grout in a new backsplash is one of those problems that looks cosmetic and often isn’t. The surface symptom is a hairline crack along a grout line. The actual cause is almost always one of two things:
- Substrate flex. The tile was set on backer material that moves under the load of a hand or a pot. Drywall isn’t a stable substrate for a tile backsplash. The correct backing is a rigid tile backer, and if the wrong one was used, the grout will keep cracking no matter how many times it’s patched.
- Missing expansion joints. Tile expands and contracts with temperature and humidity. At a change in plane, like the corner where the backsplash meets an adjacent wall, or where the backsplash meets a varying-depth countertop, there needs to be a flexible joint, not a grout line. A grouted corner joint will crack.
Here’s how to tell which you’re dealing with:
- Tap the area with a flat tool. A hollow or drummy sound means the tile is not bonded to the substrate. That’s a substrate or install problem.
- Look at where the crack is. A crack along a corner or change in plane is usually an expansion-joint issue. A crack running randomly through the field is usually substrate flex.
- Check whether the crack recurs after re-grouting. A cosmetic issue that’s actually cosmetic stays fixed. A substrate problem reopens within weeks.
Re-grouting a corner joint with grout only is a temporary patch. It’ll reopen. The right fix is to rake out the joint and fill it with a flexible sealant, and if the substrate is the problem, the honest answer is the tile has to come off. That’s a bigger number, and the discussion about who pays should be grounded in cause, not symptom.
When a New Appliance Doesn’t Fit the Opening
Appliance fit is the most avoidable problem on this page, and the most expensive to fix after cabinets are in. The cause is always the same: the appliance opening was built to a nominal measurement, not to the actual specified model. A 30-inch range opening is 30 inches at the rough frame, but the actual range is 29¾ inches of body plus rear ventilation clearance, and the countertop opening needs to accommodate the range’s actual depth, not the catalog spec.
What to do when it’s already happened:
- Trim, don’t replace, the cabinets. In most cases the appliance can be fit by trimming a filler strip, adjusting a panel, or loosening the adjacent cabinet and shifting it. Replacing a cabinet box is the last resort.
- Check the depth clearance. If the appliance won’t go all the way in, it’s usually a rough-in issue (the plumbing stubout or a gas line sitting where the appliance needs to swing back) or a rear-clearance issue. The under-cabinet space has to be measured to the finished wall surface, not the studs.
- Confirm the model number on the delivery paperwork, not the showroom floor. The appliance you saw in the showroom may not be the model delivered. Confirm before anyone moves a cabinet.
The conversation that should have happened is a written appliance schedule at the planning stage: model numbers, cutout dimensions from the manufacturer’s spec sheet, and confirmation that the cabinet layout accommodates each one. If you’re in the planning stage now, our General Contractor in Whitney page covers how a written scope handles this before demo.
Electrical and Plumbing Rough-In Problems Found After Drywall
Opening a wall to correct a rough-in problem is the most frustrating scenario in a kitchen remodel, because the visible result looked fine until it wasn’t. The problems we see most often are a receptacle box set too high or too shallow for the countertop depth, a supply or drain line that ends up behind a cabinet where it can’t be accessed for service, and a dishwasher drain that wasn’t connected to a high loop, which shows up later as an odor or a slow drain.
This is where a written guarantee changes the conversation. Without one, the resolution runs through whoever takes responsibility for the original work, and the default tends to be a patch. With a written guarantee, the timeline is contractual and the remedy – including repairing any opening and refinished wall – is already defined.
If you’re still in the planning stage, the fix is an inspection at rough-in, before drywall closes. That means the electrical and plumbing are inspected, signed off, and photographed with the wall open. Ask for those photos. They’re worth more than any verbal assurance later.
Countertop Problems: Improperly Shimmed and Unevenly Settled Tops
If a countertop rocks, or a corner sits lower than the rest of the run, or the seam tape is failing, the problem is usually under the countertop, not in it. A quartz top (we install Cambria, Silestone, and Caesarstone, each of which carries its own manufacturer warranty alongside our workmanship guarantee) doesn’t flex much. What fails is the substrate it sits on.
- A rock means missing shims, not a warped slab. A top that has a slight rock when you press one corner is almost always missing a shim at that corner. Fixing it is a matter of lifting the corner, shimming it, and resetting the top, which is a one-visit job.
- A seam that keeps opening means the two sides of the seam are moving differently. That’s usually a cabinet leveling issue on one side of the seam, not a failed adhesive.
- A crack through the field is usually a point load. Something struck the top, or the top was loaded unevenly. Field cracks are warrantied through the slab manufacturer, not the installer, but the manufacturer will want to see how the slab was supported before agreeing.
The bottom line: countertop issues are a substrate problem almost every time, and fixing the substrate is what makes a fix permanent.
How to Document a Problem So It Actually Gets Fixed
Most of the horror stories homeowners tell aren’t about a contractor who refused to fix something. They’re about a problem that was described in a phone call, patched, and forgotten. The wording of the report determines whether the fix sticks.
Follow this process from the moment you notice something:
- Photograph the problem in three shots. A wide shot showing where in the kitchen the issue is, a medium shot showing the joint or component, and a close shot showing the failure itself. Add a note with the date and the room.
- Write a short, factual description. “The corner of the backsplash at the range wall has a crack in the grout that reopened after being re-grouted twice” is a description that lets a contractor diagnose. “The tile is bad” is not.
- Give written notice in writing, not by phone. A text or email with photos attached is written notice. A phone call is not, and the resolution is much slower when the only record is someone’s memory.
- Ask for a written response timeline. A legitimate contractor responds in writing with a plan and a date. Different contractors run different timelines; ask what theirs is, and hold them to it.
- Keep a single thread of communication. One email chain or one text thread for the whole issue. Don’t split between phone, text, email, and in-person.
When a contractor is operating under a written guarantee, this process works in both directions: you have a clear record, and they have a clear obligation. Our Penhallow Remodeling Whitney page explains how the 365-Day Done Right Promise works and what a written remedy looks like in practice.
Why Whitney Conditions Affect Kitchen Work
Whitney’s climate does a few specific things to kitchen finishes. The swing between hot, dry summer afternoons and cool nights moves wood cabinet doors more than most homeowners expect, which is why solid-wood doors are likelier to show tight reveals in the summer and looser ones in the winter. That’s normal wood movement, not a failed door. The fix is a seasonal adjustment, not a replacement.
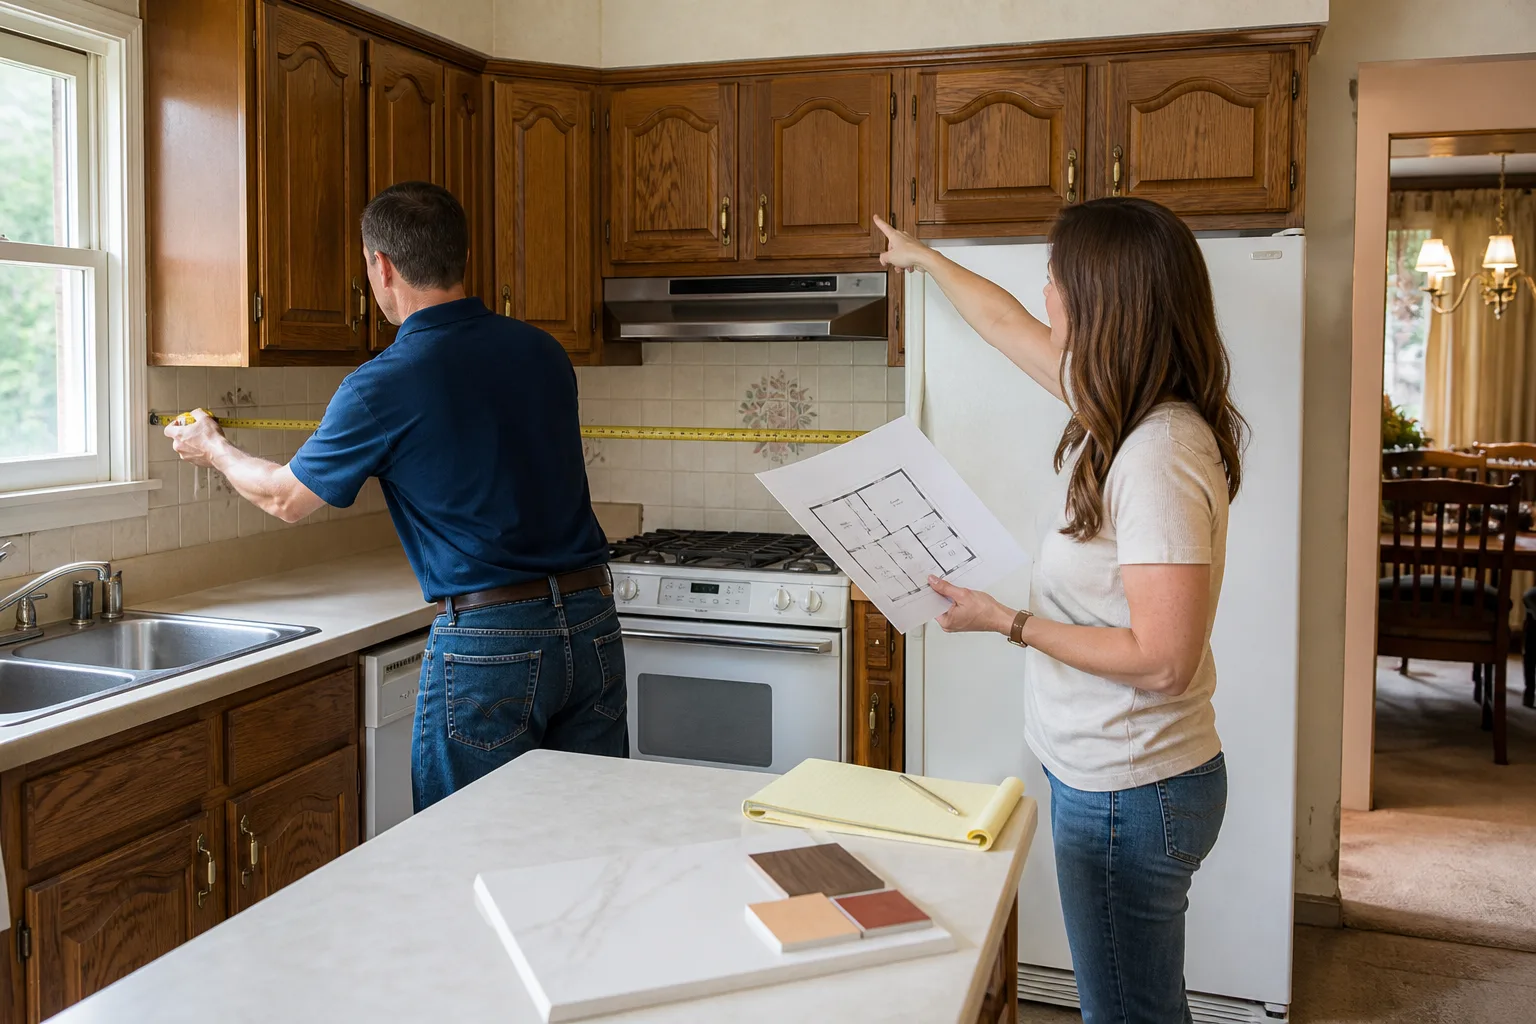
The other persistent issue we run into in Whitney is a rough-in that was set for a previous appliance and never updated. In older kitchens here, the plumbing stubout is often higher than current countertop depth spec, and the receptacle layout was set for a smaller refrigerator. Those are pre-demo findings, and they only get caught when someone actually measures before the first cabinet comes out.
When we take on a Whitney kitchen, the first thing on the schedule is a written scope with model numbers, appliance dimensions, and a level-check on the floor and walls before anything gets ordered. If you’re in the middle of a project that’s already gone sideways, our Bathroom Remodeling in Whitney page may not be what you’re looking for, but it shows the same pre-work standard we apply across both services.
Common Mistakes to Avoid
- Accepting a verbal price and a verbal timeline. In Whitney’s market, a verbal estimate that changes at the door is still the most common complaint we hear. Get it in writing before demo starts.
- Ordering cabinets before confirming appliance models. The appliance schedule has to precede the cabinet order, not follow it. This is the single most expensive avoidable mistake in kitchen remodeling.
- Re-caulking the same joint more than twice without asking why it’s moving. The third re-caulk is a signal that the surface is being patched over a structural cause.
- Skipping the rough-in inspection before drywall. An electrical or plumbing issue found after the wall closes costs 5 to 10 times more than the same issue found before.
- Verbal notices for warranty issues. A phone call is not a documented notice. Use text or email with photos from the first day.
- Assuming the showroom appliance is what’s delivered. Confirm the model number on the actual delivery paperwork against the spec sheet before any cabinet is moved to accommodate it.
- Letting a contractor you haven’t background-checked into the home unsupervised. Ask about the technician who is showing up. Every Penhallow technician is background-checked and arrives in uniform so you know exactly who’s walking in.
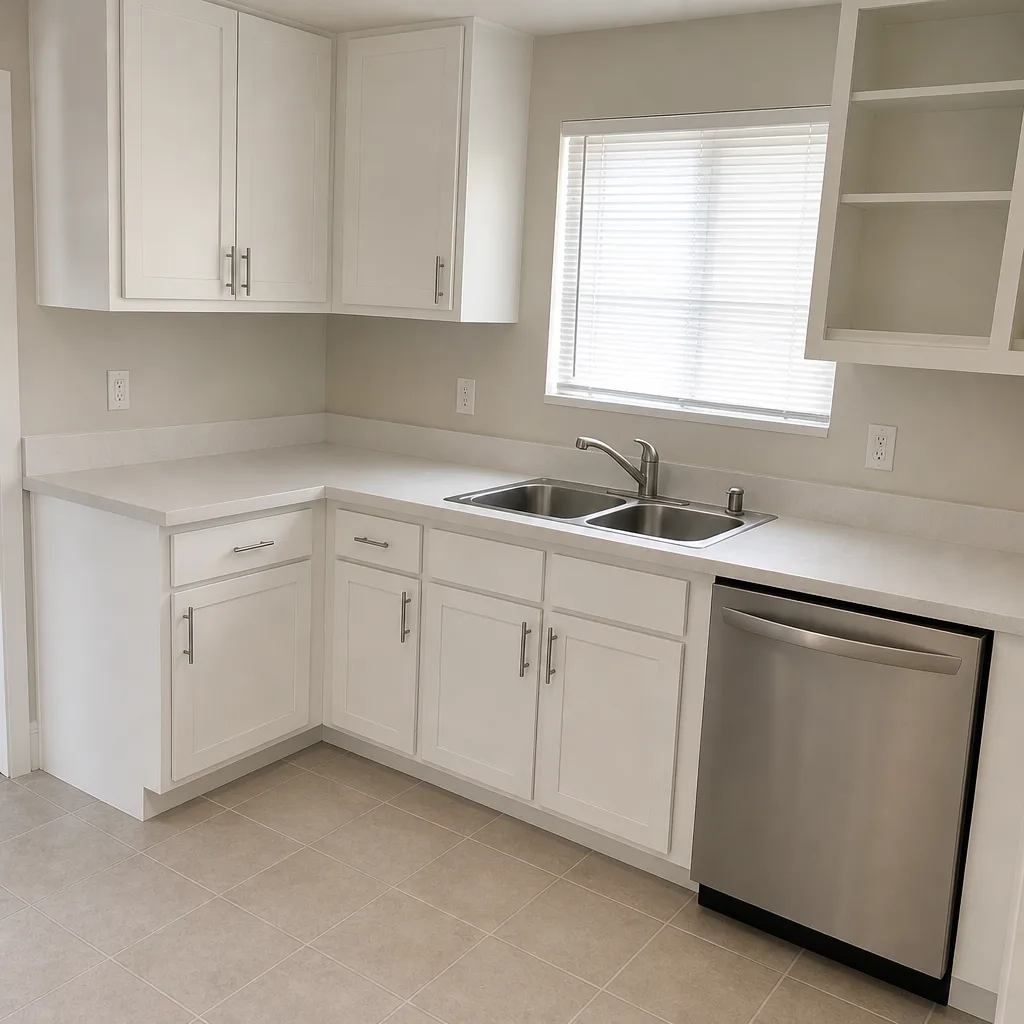
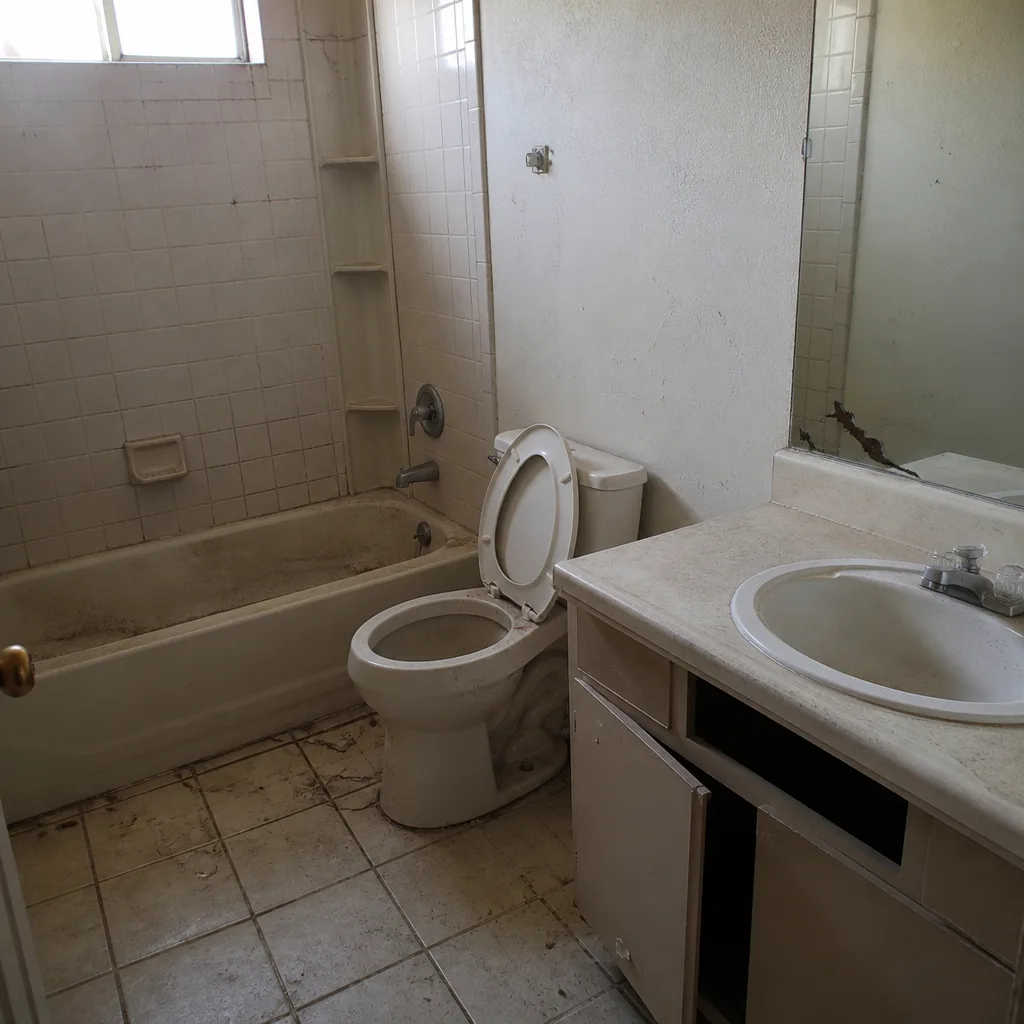
See the difference
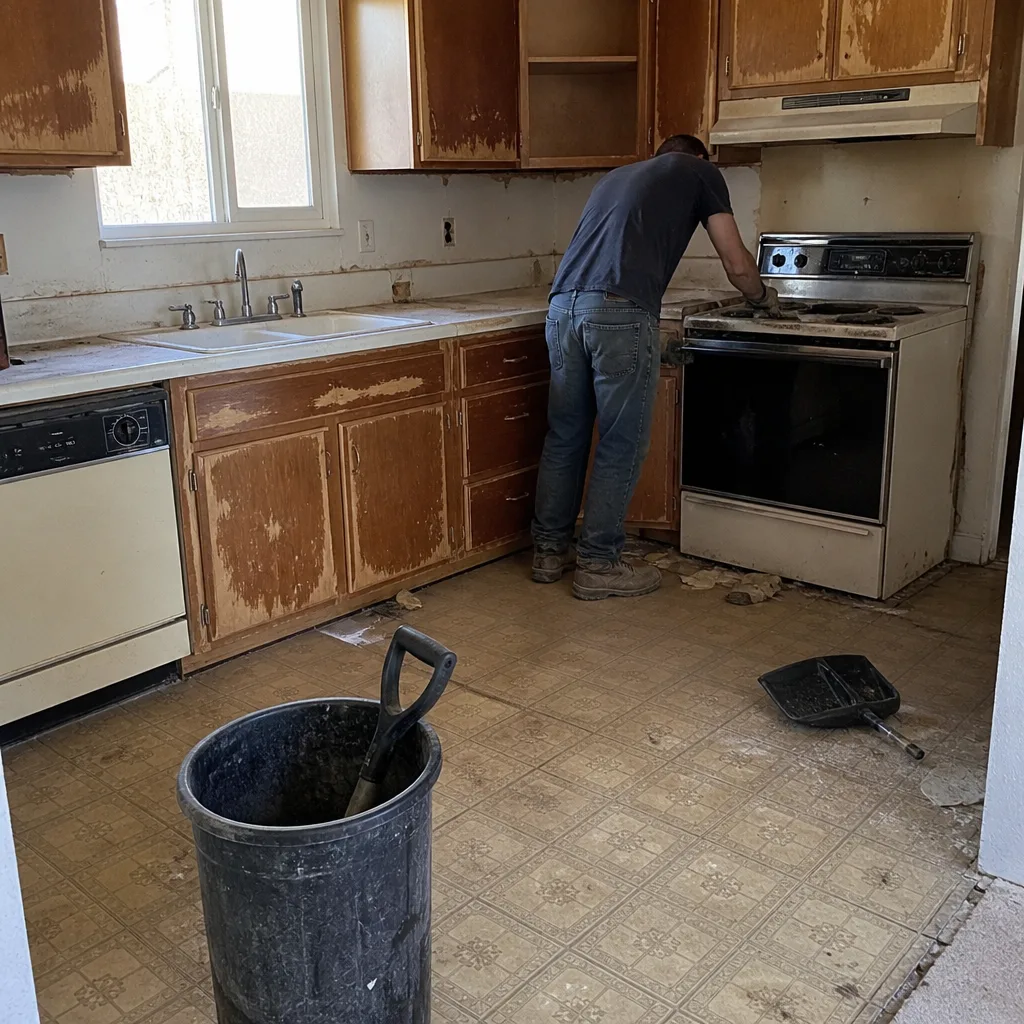 Before
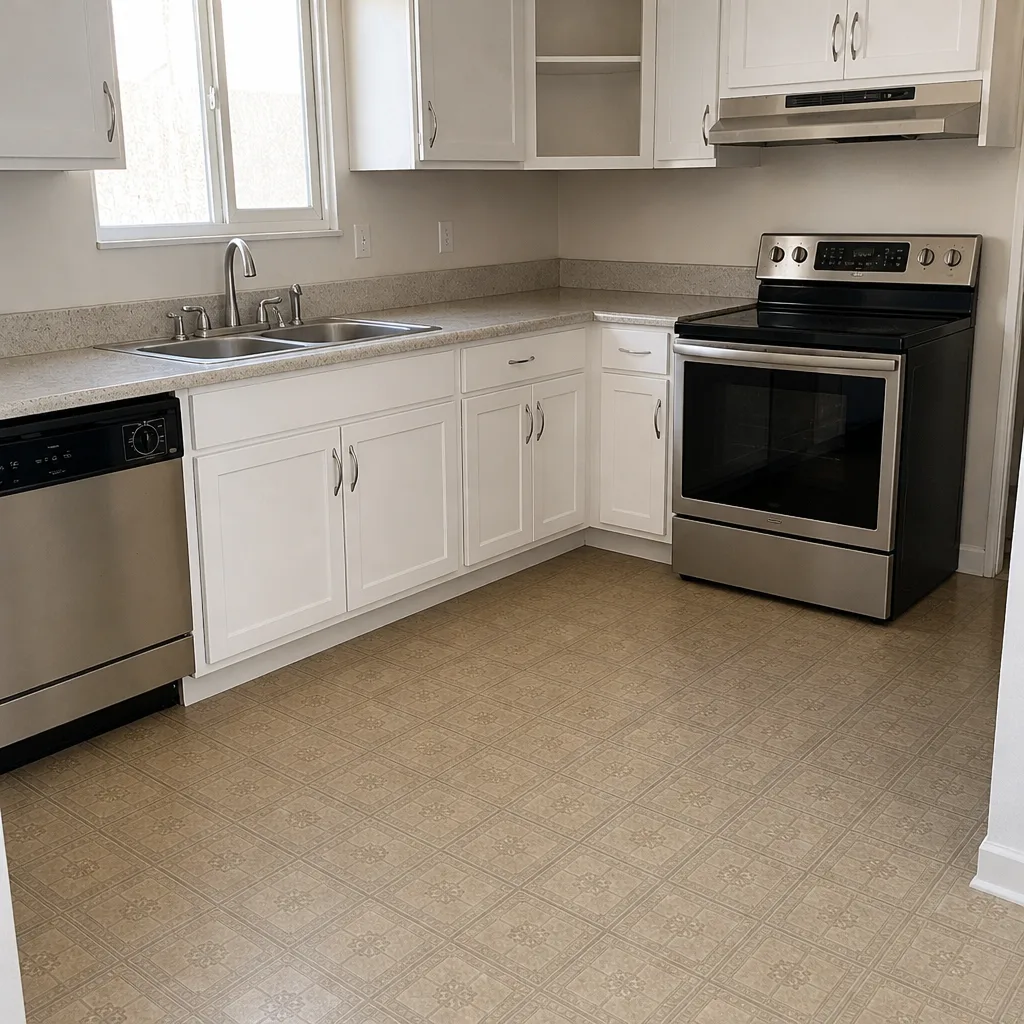 After
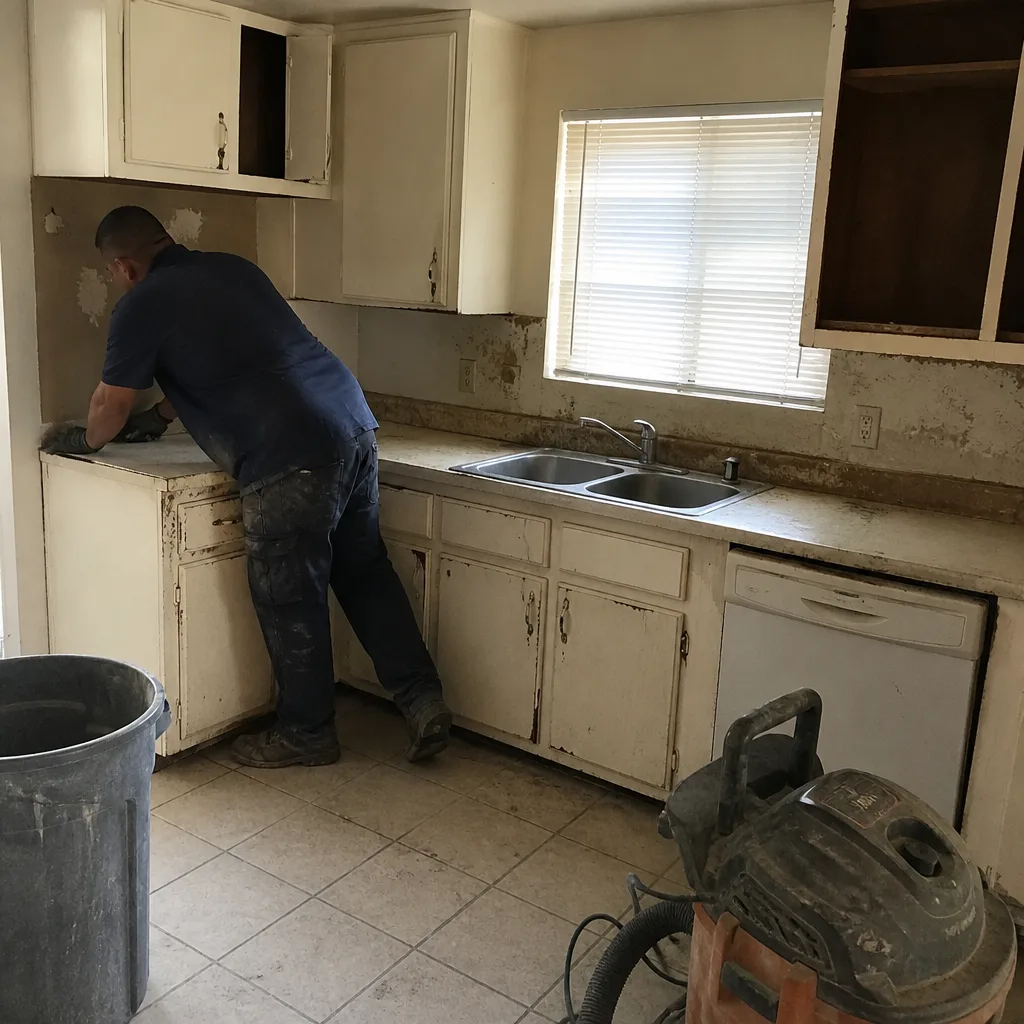 Before
 After
 Before
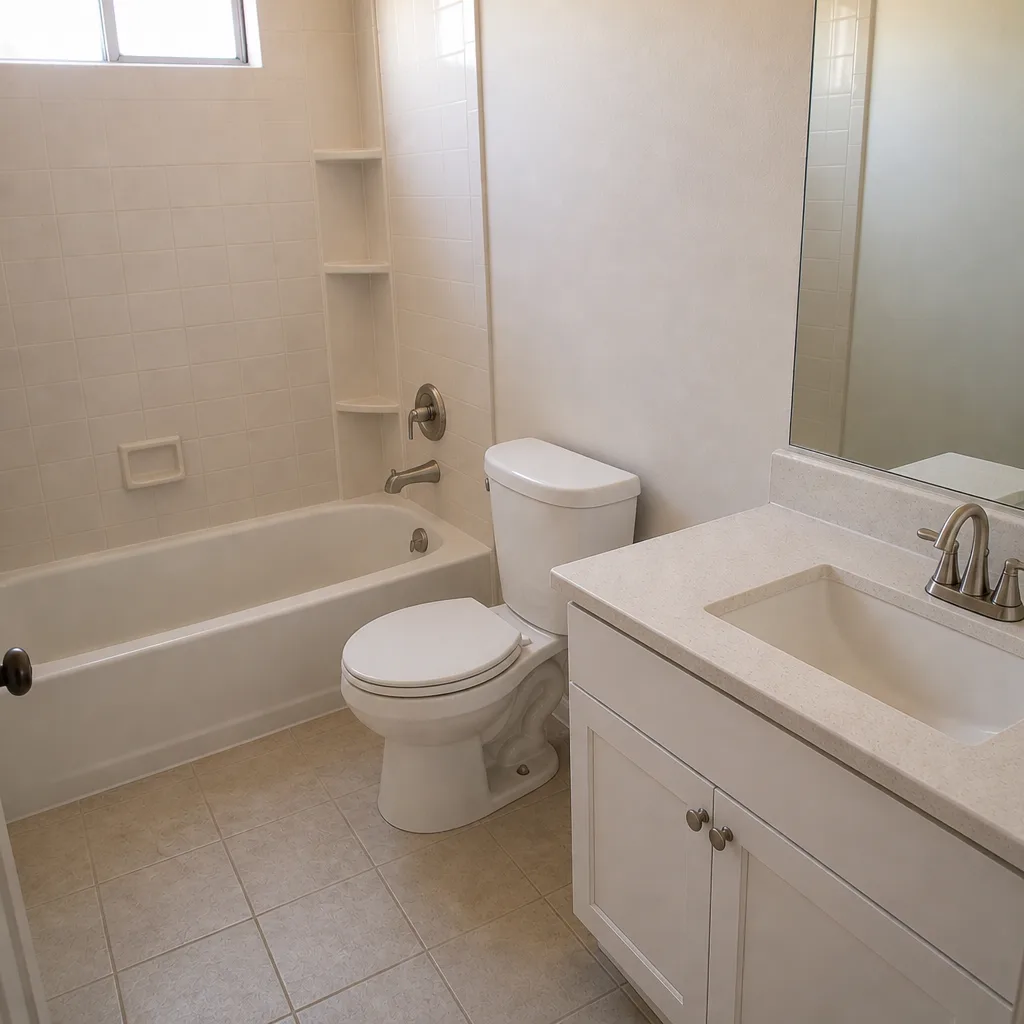 After
When to Call a Professional
Some of these repairs are genuinely do-it-yourself. Re-caulking a backsplash corner joint, adjusting a hinge, photographing and documenting a problem, and shimming the corner of a rocking countertop are all within reach of a careful homeowner.
Others are not. Rewiring an electrical rough-in, re-plumbing a supply line behind a cabinet, and re-leveling an entire cabinet run are jobs that affect function and safety, and a mistake is expensive to undo. If the problem involves anything behind the wall or under the floor, call a professional.
Penhallow Remodeling Whitney offers free estimates in Whitney. Every estimate is a written number before work starts, and every job carries the 365-Day Done Right Promise in writing. Call (833) 721-7402 to schedule a visit. A live person answers 24/7.
Frequently Asked Questions
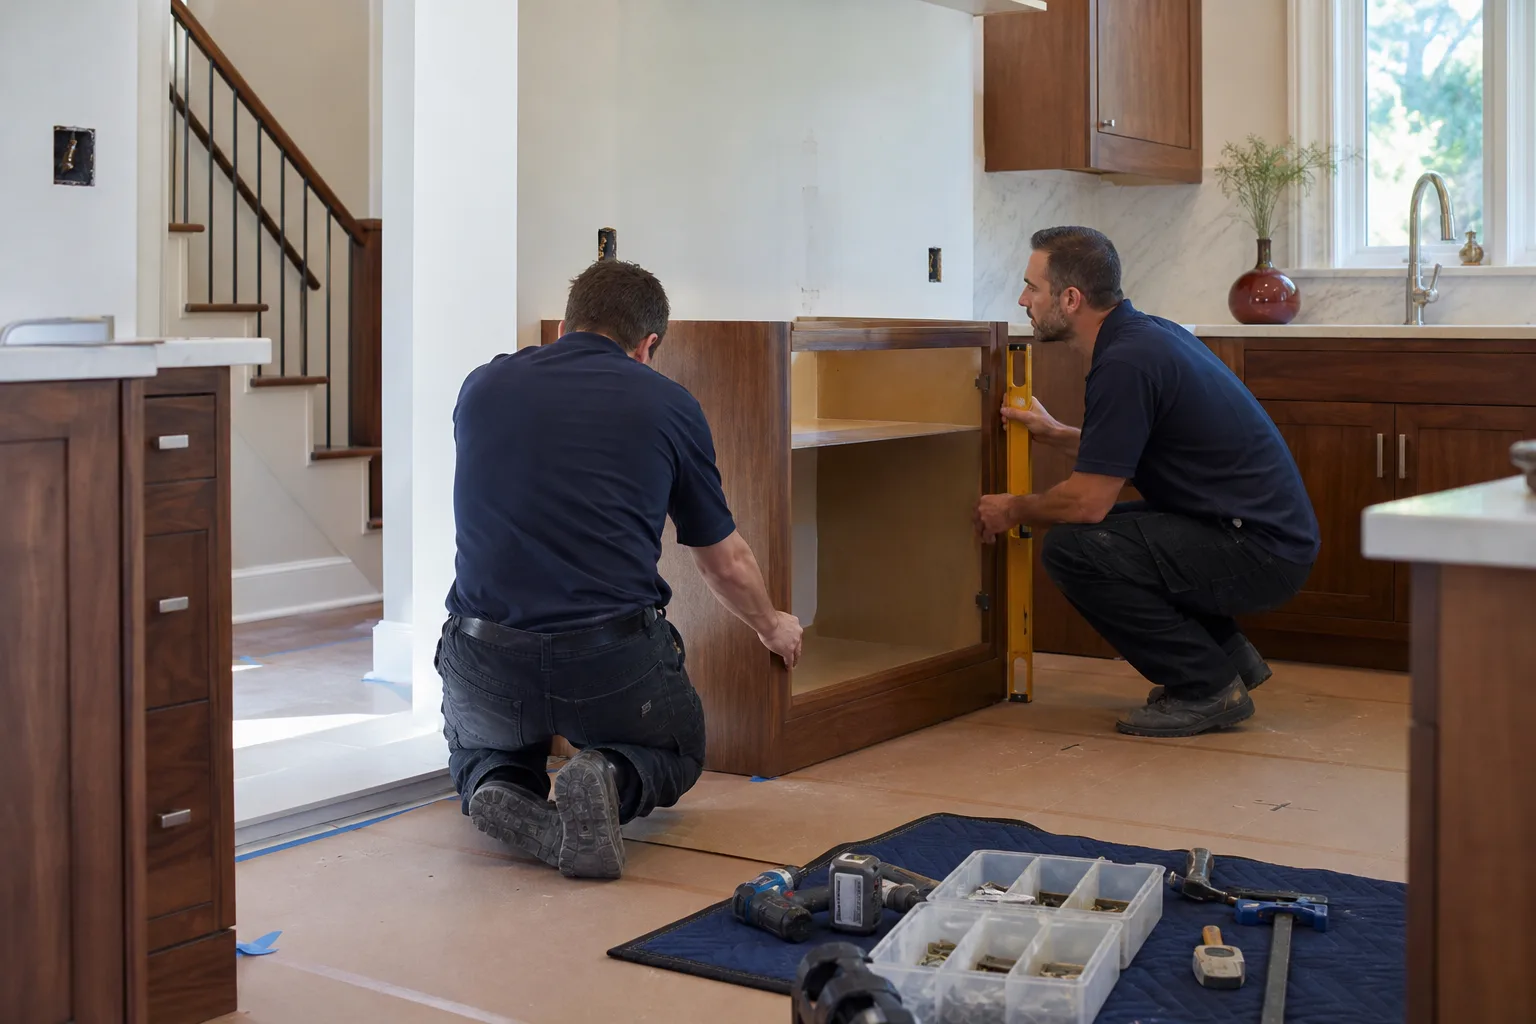
A door that stops closing flush after three months is almost always a levelness problem under the cabinet, not a hinge failure. The floor under the cabinet run was likely out of level when the boxes went in, and the wood has since moved with the seasonal temperature swing. The correct fix is to re-level the cabinet box, not to adjust the hinge repeatedly.
Not necessarily. If the crack is along a corner or a change in plane, it’s an expansion-joint issue and the fix is to rake out the joint and replace grout with a flexible sealant. If the tile sounds hollow when tapped, the substrate is flexing and the tile has to come off. Diagnose before committing. Call (833) 721-7402 for an exact quote on a diagnostic visit, free.
In most cases the opening can be adapted without replacing cabinets. The standard fix is to trim a filler strip, adjust an adjacent cabinet panel, or check whether the depth clearance is blocked by a plumbing stubout or gas line. Confirm the delivered model number against the manufacturer spec sheet before anyone moves anything. Call (833) 721-7402 if you want a written assessment.
Cracked grout at a seam is usually a structural issue, because the two cabinet runs on either side of the seam are moving. Cracked grout in the field of a backsplash is usually a substrate or expansion-joint issue. Neither is resolved by re-grouting alone. Call (833) 721-7402 for a written diagnostic.
Under a written workmanship guarantee, the repair is covered without charge if the failure is caused by the work itself. Cosmetic issues, structural issues from a leveling or substrate failure, and any repair that requires opening a wall are all within scope on a proper warranty. The remedy should be defined in the written guarantee before work starts, not negotiated after something fails.
There’s no single industry timeline, but a legitimate contractor responds in writing with a plan and a date, typically within a few business days of the written notice. If the response is a phone call or a promise to “get to it,” ask for the plan in writing. A written guarantee translates that conversation into a contractual obligation.
The Bottom Line
Most of the kitchen remodeling problems we’re called in on trace back to three planning-phase decisions: the floor and walls were never checked for level, the appliance schedule was never confirmed before the cabinets were ordered, and the tile substrate wasn’t inspected before the tile went down. Cosmetic failures are usually a single-visit fix under a workmanship guarantee. Structural failures need the root cause corrected, not the surface patched. When something goes wrong, photograph it, describe it in writing, and ask for a written response timeline. The written price, the written guarantee, and the written remedy are what turn a repair conversation into a contract.
Written by the team at Penhallow Remodeling Whitney.