
Last updated November 18, 2026








Free written scope consultation - allowances, timeline, and change-order rules on paper before a single trade is scheduled
Bathroom Remodeling Maintenance Schedule: What to Do and When
Bathroom caulk in a Nevada climate has a functional lifespan of 18 to 24 months before UV exposure and thermal cycling begin breaking the seal at the tub and shower surround. Almost no remodel warranty covers caulk beyond 12 months. That gap is your responsibility, and knowing it in advance is the only way to close it. What follows is a time-stamped routine built for the desert: what to inspect at 30 days, 6 months, 12 months and 24 months, what passing and failing look like, which tasks you can handle yourself, and which ones need a licensed pro. We’ve watched Whitney bathrooms fail early for the same handful of reasons, and almost every one of them was avoidable with a ten-minute check that never happened.
Quick Answer
A remodeled bathroom needs four scheduled inspections in its first two years: 30 days (caulk and grout cure check), 6 months (sealant and fixture connections), 12 months (full reseal and drain check), and 24 months (caulk replacement, grout seal refresh, hardware tightening). Between those milestones, run a monthly two-minute visual pass and log everything you find. The first two years decide how long the bathroom lasts.
Styles & brands we work with
- Kitchen remodeling
- Bathroom remodeling
- Home additions & ADU
- Roofing
- Windows & doors
- Driveway & pavers
- Fence
Table of Contents
- Why the First Two Years Decide Everything
- The Monthly Two-Minute Pass
- 30-Day Inspection: The Cure Check
- 6-Month Inspection: Sealant and Fixtures
- 12-Month Inspection: Full Reseal
- 24-Month Inspection: The Big Refresh
- How to Reseal Grout Without Trapping Moisture
- Tenant-Level Tasks vs. Licensed Professional Tasks
- How to Log Maintenance to Protect Your Guarantee
- Common Mistakes to Avoid
- When to Call a Professional
- Frequently Asked Questions
Why the First Two Years Decide Everything
A bathroom remodel is a system of seams. Tile has seams. The tub meets the wall at a seam. The shower pan meets the curb at a seam. The vanity meets the wall and the floor at seams. Every one of those joints moves slightly as the house settles and the materials expand and contract, and every one of them is protected by a thin bead of flexible sealant or a line of grout. In Whitney, that movement is exaggerated. Summer surface temperatures on a west-facing bathroom window can push well past 120°F, and winter nights drop into the 30s. UV exposure at altitude degrades silicone faster than most product labels admit.
The first two years are when those seams either settle into a stable state or start opening. A hairline crack in caulk at month 14 looks cosmetic. By month 30, water has been wicking behind the tile for a year and the substrate (the cement board layer behind your tile) is holding moisture it can’t dry out. That’s how a $400 reseal turns into a $6,000 shower rebuild. The schedule below exists to catch the hairline crack at month 14.
What a remodel’s written guarantee typically covers is the workmanship and the materials, not the caulk joint you were supposed to maintain. That distinction is standard across the industry and it’s fair, but only if you know it going in. If you’re planning a remodel and want the whole scope explained before you commit, our Bathroom Remodeling in Whitney page walks through materials and warranty language in plain terms.
The Monthly Two-Minute Pass
Once a month, do a walk-through with no tools. This is a look-and-feel check, not a repair session.
- Run your hand along every caulk line. Feel for soft spots, gaps, or grit. Caulk that has failed feels slightly tacky or peels at the edge.
- Look at the ceiling below the bathroom, if you have a lower floor. A faint water stain is the earliest sign of a shower pan or drain leak and it appears long before you’d notice anything upstairs.
- Check the toilet base for moisture. A damp ring around the base means the wax seal is failing.
- Open the vanity cabinet and smell. Mustiness under the sink usually means a slow supply line or drain leak, not just humidity.
- Glance at grout lines on the shower floor. Any darkening that doesn’t scrub away is the beginning of mold in the grout, not on it.
Write down the date and what you saw. A notebook or a phone note is fine. That log matters more than you think, and we’ll come back to why.
30-Day Inspection: The Cure Check
Thirty days after your remodel wraps, sealants and grout have finished their initial cure and moved for the first time. This is the earliest failure window and the easiest one to miss because everything still looks new.
- Press every caulk bead with a clean finger. It should feel firm and slightly rubbery. Pass: springs back. Fail: stays dented, feels gummy, or pulls away from either surface at the edge.
- Check grout for hairline cracks at inside corners and where the floor meets the wall. Pass: no visible line. Fail: any crack, even one the width of a hair. Grout at a change of plane should never have been used there in the first place; caulk belongs at corners, not grout.
- Test the shower drain and the tub overflow. Run water for two minutes with the drain closed, then release. Pass: drains freely, no gurgle. Fail: slow drain or bubbling means a partial blockage or a vent issue.
- Look at the toilet for rocking. Push gently on the bowl. Pass: solid. Fail: any movement means the flange or wax ring needs attention, and this one is not a DIY fix.
- Confirm the exhaust fan pulls air. Hold a tissue to the grille. Pass: it holds. Fail: it falls, and you have a ventilation problem that will feed mold for years.
If anything fails at 30 days, call the company that did the work. That’s exactly what a written workmanship guarantee is for, and a real one covers it.
6-Month Inspection: Sealant and Fixtures
At six months, the bathroom has been through its first seasonal swing in Whitney: a hot dry summer or a cold snap, depending on when you finished. This inspection focuses on water connections and the first signs of sealant fatigue.
- Inspect caulk at the tub, shower surround, and backsplash. Pass: continuous bead, no discoloration. Fail: any mold spotting that won’t wipe off, or any gap at the ends of a run where caulk has shrunk back.
- Check under every sink for weeping supply lines. Dry a paper towel around each connection, wait an hour, check again. Pass: dry. Fail: even a damp shadow.
- Test the shutoff valves. Turn each quarter-turn valve closed and open once. Pass: smooth. Fail: stiff, leaking, or stuck. A shutoff valve that won’t close is a flood waiting for a burst line.
- Look at the tile grout on the shower walls. Pass: consistent color. Fail: dark streaks or efflorescence (white powder) meaning moisture is moving through.
- Check the exhaust fan for dust buildup on the grille and blade. A clogged fan moves half the air.
This is also the right month to run your first grout sealant top-up if your shower sees daily use. We’ll cover the correct method below.
12-Month Inspection: Full Reseal
At the one-year mark, plan for a half-day of work. This is the most important inspection in the schedule because it sets the tone for year two.
- Remove and replace all caulk at wet areas. Yes, all of it, at the tub, shower, and any seam that sees water. Caulk is consumable. Cutting it out with a plastic scraper and resealing with a 100% silicone kitchen and bath sealant is the single highest-value maintenance task in the bathroom.
- Re-seal grout on the shower floor and walls. Use a penetrating sealer, not a topical coating. Apply to clean, dry grout and wipe the tile surface after ten minutes so no film remains.
- Check the toilet flange and bolts. Tighten the bolt caps if loose. Any rocking means a call.
- Inspect the shower door or curtain rod hardware. Tighten every screw. Loose hardware lets water escape onto the floor.
- Service the exhaust fan. Vacuum the grille and blade, and confirm airflow with the tissue test again.
- Check the tub overflow gasket and drain strainer. A worn gasket is a hidden leak into the ceiling below.
Log every item. Photograph each wet area before and after resealing. Those photos are dated proof that you maintained the joint.
24-Month Inspection: The Big Refresh
Two years in, the seasonal swings have done their work. Every caulk joint in a Whitney bathroom is at or past its expected lifespan, and this is the inspection that either resets the clock or reveals a problem while it’s still cheap.
- Replace all caulk again, including the vanity backsplash and the floor-to-wall seams. If you skipped the 12-month reseal, this is mandatory, not optional.
- Re-seal grout throughout the bathroom. Shower first, then floor, then backsplash.
- Inspect tile for hollow spots. Tap gently with a screwdriver handle. Pass: solid thud. Fail: hollow ring, which means the tile has debonded and water is behind it.
- Check the shower pan for flex. Step into the center. Pass: firm underfoot. Fail: any give means the pan or its substrate is compromised.
- Replace the toilet flapper and check the fill valve. Flappers fail at about two years in hard water, which most of the Las Vegas Valley has. This is a $15 part and a ten-minute job.
- Have a licensed plumber inspect behind the wall if any 6-month or 12-month item ever failed. One early warning that wasn’t resolved is enough reason to look deeper.
At the 24-month mark you’ve either confirmed a healthy bathroom or caught a failure inside a workmanship guarantee window. Either outcome is a win, and both depend on the log.
How to Reseal Grout Without Trapping Moisture
Here’s the mistake that causes more damage than skipping the sealant entirely: sealing grout while the tile assembly is still wet, or using a film-forming topical sealer over grout that has been damp for days. The sealer locks moisture inside the grout and the substrate (the cement board or waterproof membrane behind the tile). Trapped water has nowhere to evaporate, so it sits against the substrate and feeds mold from behind. By the time you see it at the surface, the damage is done.
Do it this way instead:
- Let the shower dry for at least 72 hours. No showers. Run the exhaust fan daily. Grout that still looks dark is still wet; wait longer.
- Clean first. Scrub grout lines with a soft brush and a pH-neutral cleaner. Rinse, then let it dry completely again.
- Choose a penetrating sealer, not a topical coating. Penetrating sealers soak into the grout and let vapor escape. Topical coatings sit on top and trap moisture.
- Apply with a small foam brush, one grout line at a time. Work in a two-foot section, let it soak for five to ten minutes, then wipe the tile face with a dry microfiber cloth before it dries.
- Cure 24 hours with the fan running, then test. Splash a little water on the grout. If it beads, the seal worked. If it soaks in, the grout was too wet when you sealed.
Nevada’s spring and fall are the right windows for this work. In July and August the grout dries too fast and the sealer can flash before it penetrates. In January, low humidity is fine but cold slows curing. April and October give you even drying and mild temperatures. We schedule caulk and reseal work for Whitney homeowners in those two windows for exactly this reason.
Tenant-Level Tasks vs. Licensed Professional Tasks
Some of this work is a homeowner or renter job. Some of it will void a material warranty if you touch it yourself, and some of it is genuinely dangerous. Here’s the split.
Homeowner-level tasks (safe, no warranty risk)
- Monthly visual pass and logging.
- Replacing caulk at tub, shower, and backsplash seams.
- Applying penetrating grout sealer.
- Cleaning the exhaust fan grille and blade.
- Tightening cabinet hardware and shower door screws.
- Replacing a toilet flapper (the fill valve is a judgment call depending on your comfort with water shutoffs).
Tasks for a licensed plumber or tile contractor
- Any toilet removal or flange repair. Improper reinstallation can crack a ceramic base and wet the subfloor.
- Shower pan or drain work. A pan leak is a $200 repair or a $5,000 rebuild depending on how fast it’s caught, and tile waterproofing warranties from brands like Schluter require certified installers. Touching the membrane yourself ends the warranty.
- Any tile replacement on a wall or floor, because matching grout and matching the tile lot is not a homeowner job.
- Behind-the-wall plumbing, including shutoff valve replacement.
- Exhaust fan replacement or ductwork changes, which involve electrical and often attic access.
When in doubt, call. A $150 service visit is a bargain compared to the failure it prevents. Fixtures from brands like Delta and Toto are built to a standard, but the guarantee behind them depends on proper installation, and a homeowner-cut gasket can void it.
How to Log Maintenance to Protect Your Guarantee
If a problem develops inside a contractor’s workmanship guarantee window, the question that decides the claim is almost always the same: was the failure caused by the work, or by owner neglect? A dated log is how you prove the former.
Keep it simple. A spiral notebook in a kitchen drawer works. Record, for each entry:
- Date and what you did. “Resealed tub surround, 100% silicone” is enough.
- What you observed. “Hairline crack at shower curb, left corner” beats “checked shower.”
- Photos of each wet area before and after. Phone photos are time-stamped and that’s the whole point.
- Receipts. Keep the caulk and sealer receipts. It takes ten seconds and it names the product.
- Names of any professionals who came out. Keep their invoices too.
When you hire us for a remodel, you get a written price before any work starts and a written 365-Day Done Right Promise that spells out what happens if something fails. That promise assumes you’re maintaining the joints we can’t maintain for you. If something fails inside the year, we come back and fix it at no charge, and a maintenance log is what makes that conversation short. If you’ve had a bad experience with a contractor who disappeared after the check cleared, our General Contractor in Whitney page explains how a written guarantee actually reads.
Common Mistakes to Avoid
- Sealing grout while it’s still damp. The single biggest cause of hidden mold in Whitney bathrooms. Wait 72 hours past the last shower, then wait a day more if the grout still looks dark.
- Grouting corners instead of caulking them. Grout is rigid and cracks at every change of plane. Flexible caulk belongs at inside corners, always.
- Using silicone in a caulk gun that sat in a hot garage. Summer garage temps in the Las Vegas Valley can exceed 130°F, and heat-cured silicone tubes skin over before you finish the bead. Buy fresh tubes for each reseal.
- Ignoring the exhaust fan. A bathroom with a weak fan traps humidity for hours after every shower, and that humidity is what feeds the mold you keep scrubbing off. Test airflow monthly.
- Painting over caulk or sealing over a failing bead instead of replacing it. You’ll trap moisture and lose track of what’s failing underneath.
- Never logging anything. Without dates and photos, a failed joint looks like neglect to anyone reviewing it, including the company that built the bathroom.
- Doing tile or pan work yourself to save a service call. Beyond the injury risk with a heavy tile saw, you’ll void the waterproofing manufacturer’s warranty and the workmanship guarantee at the same time.
When to Call a Professional
Call a pro when the problem is behind the tile, under the floor, or inside a wall. The specific triggers: any water stain on the ceiling below the bathroom; a shower pan that flexes underfoot; a toilet that rocks or shows a damp ring at the base; hollow-sounding tile; a shutoff valve that won’t close; mold that returns within two weeks of cleaning; or any 6-month or 12-month inspection item that failed and didn’t get fixed. One more: if you’re inside a workmanship guarantee window and something failed, call the original installer before you touch anything, because self-repair can void the guarantee even when the failure was the crew’s fault. Beyond that, if the bathroom is 10 years old and you’ve never resealed, a professional assessment is worth the visit. Penhallow Remodeling Whitney offers free estimates in Whitney. Call (833) 721-7402 and a live person will answer and set up a time.
Frequently Asked Questions
Reseal caulk at the tub and shower surround every 12 months and replace it fully every 24 months, and reseal grout every 12 to 18 months in a daily-use shower. Nevada’s high UV and wide temperature swings age sealant faster than the product labels suggest, so the 18-to-24-month figure is the reliable ceiling, not the floor. Call (833) 721-7402 for a free estimate if you’d rather have it done properly.
Caulk is typically covered for 12 months or less, and after that it’s considered a wear item the homeowner maintains. That’s the industry norm, and it’s why the two-year schedule matters. Our 365-Day Done Right Promise covers workmanship and materials inside the first year; after that, caulk and grout are on you, and the schedule above is what keeps the bathroom healthy. Call (833) 721-7402 with any warranty question and a real person will answer.
Yes, if you clean and dry the grout completely before sealing and use a penetrating sealer instead of a topical coating. The trap that fails people is sealing over grout that’s still holding moisture, which locks the water in and causes more damage than skipping the sealant. Anything behind the wall, under the pan, or attached to the plumbing is a different answer: call a licensed pro. Call (833) 721-7402 for a free estimate if you’re unsure.
Caulk at the tub and shower surround, usually between months 14 and 20, because UV exposure and thermal cycling break the bead from the outside in. The second is the toilet flapper, which fails around two years in hard water. Both are cheap to fix early and expensive to ignore. Call (833) 721-7402 for a free estimate if you’ve spotted an early failure and want a professional opinion.
Yes. A dated log with photos proves the failure wasn’t caused by owner neglect, which is the question that decides most guarantee claims. Without it, a failed joint looks like an unattended one, and the claim is hard to approve. Start the log the day the remodel wraps. Call (833) 721-7402 if you need help setting up a maintenance plan.
A professional annual maintenance visit makes sense for showers over a lower floor, for bathrooms with tile pans, and for anyone uncomfortable with caulk work on a finished surround. A trained technician checks seams, drain connections, and the fan in one visit, and it removes the guesswork from your log. Penhallow Remodeling Whitney offers free estimates. Call (833) 721-7402 to schedule one.
The Bottom Line
A bathroom remodel’s lifespan comes down to what happens at months 30, 6, 12, and 24. Caulk every year, replace it every two, seal grout only when it’s bone dry, test the exhaust fan every month, and log everything with dates and photos. In Whitney’s UV-heavy, wide-swing climate, that schedule isn’t fussiness; it’s the difference between a $400 reseal and a shower rebuild. The rest of a well-built bathroom, from the tile to the fixtures to the vanity, does its job for decades if the seams hold. The seams are yours to keep. If a future project is on your mind, start with our Penhallow Remodeling Whitney home page or our Kitchen Remodeling in Whitney guide for the same maintenance logic applied to kitchens.
Contact
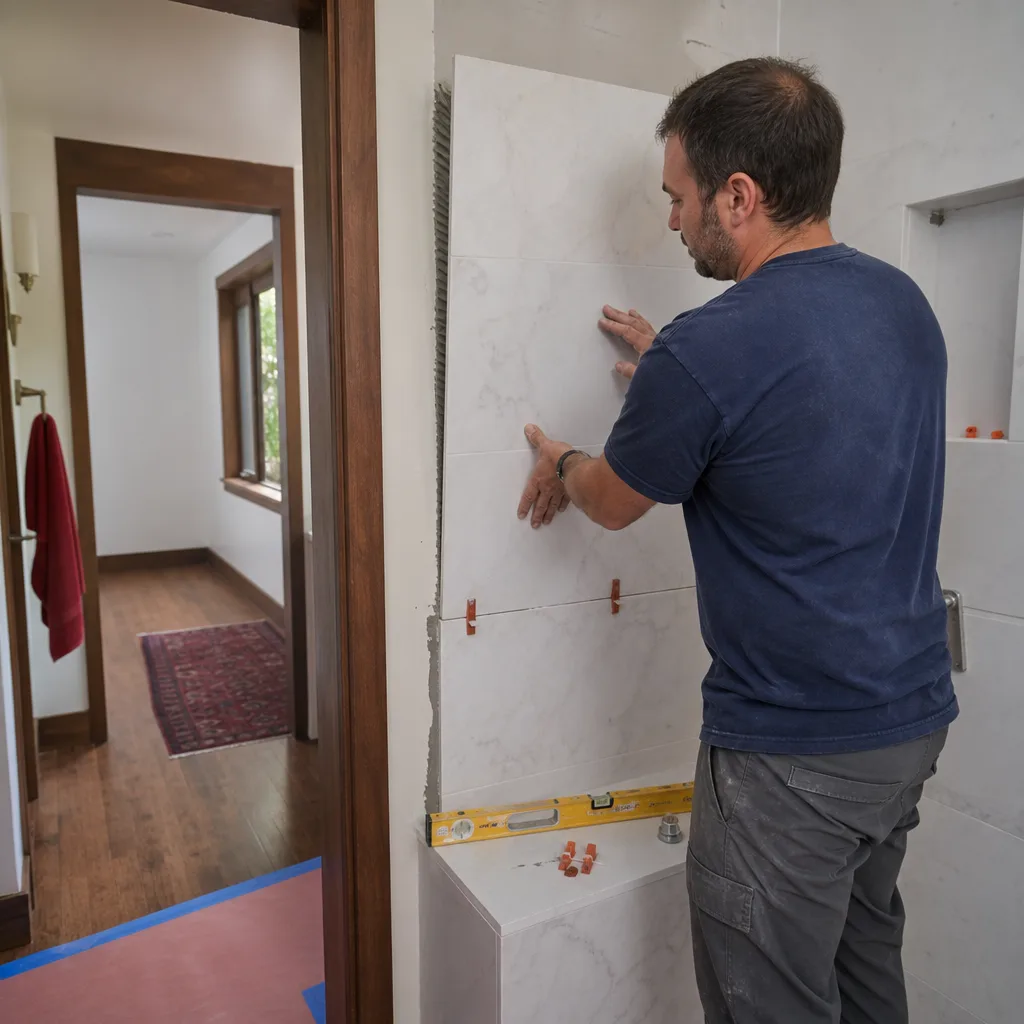
If you’re planning a bathroom remodel in Whitney and want a written price before any work starts, a real arrival window, and a written guarantee that covers the work, call Penhallow Remodeling Whitney at (833) 721-7402 for a free estimate. A live person answers 24/7, technicians are background-checked and arrive in uniform, and every project carries the 365-Day Done Right Promise. The number on day one is the number on the invoice.
Written by the team at Penhallow Remodeling Whitney.
See the difference
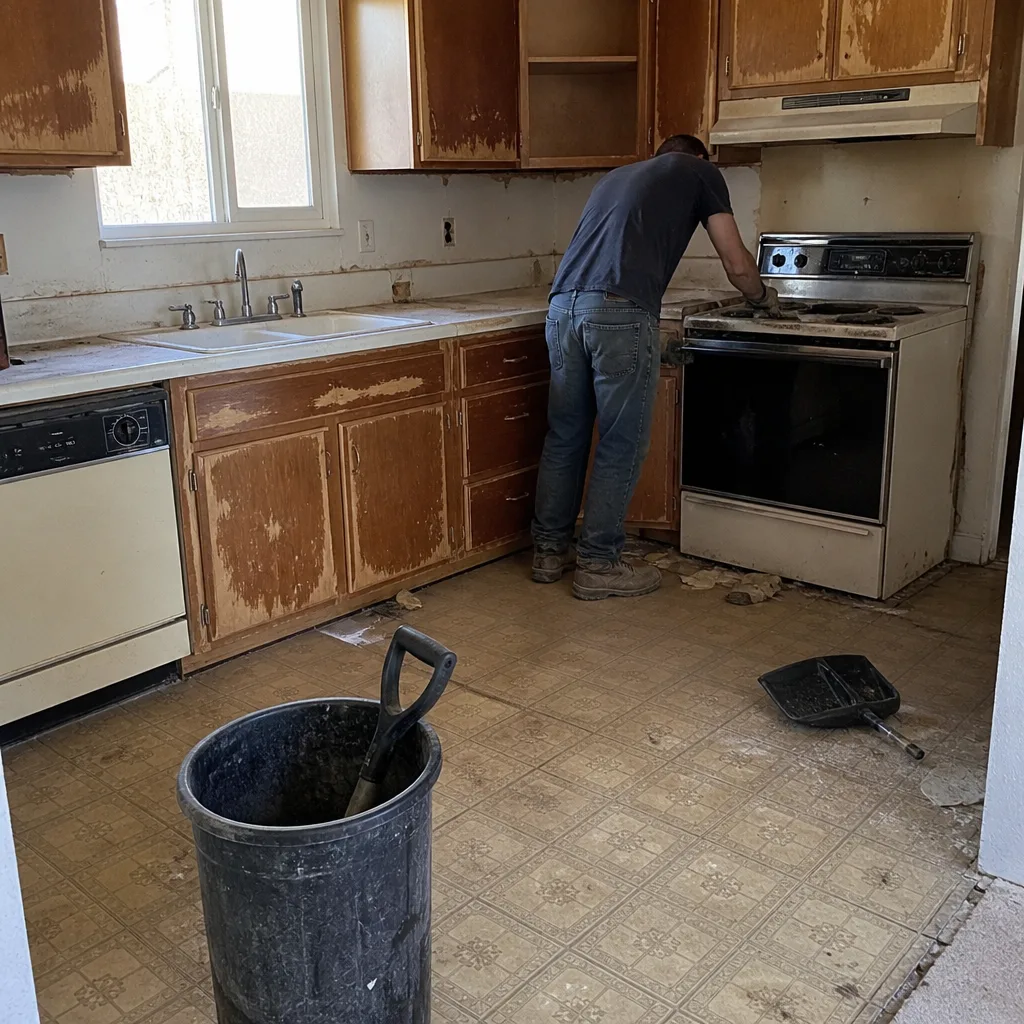 Before
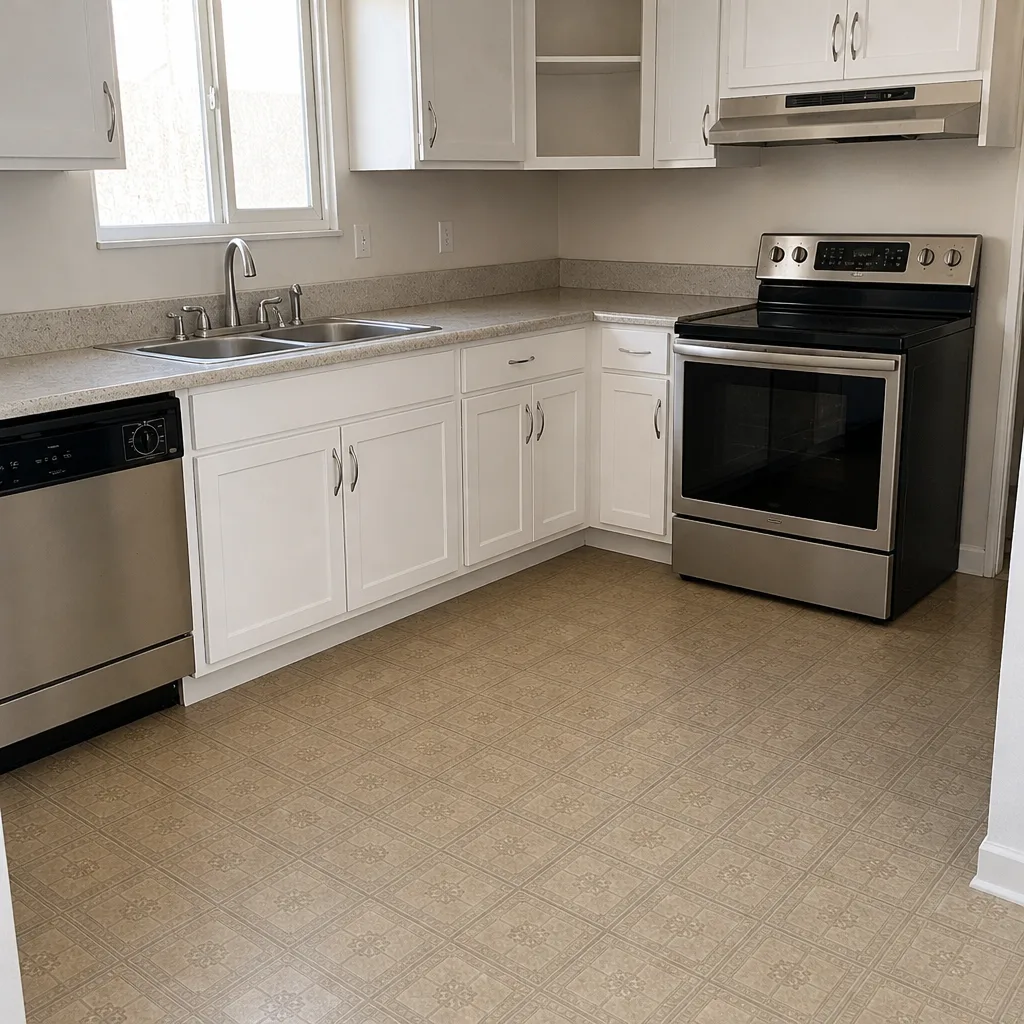 After
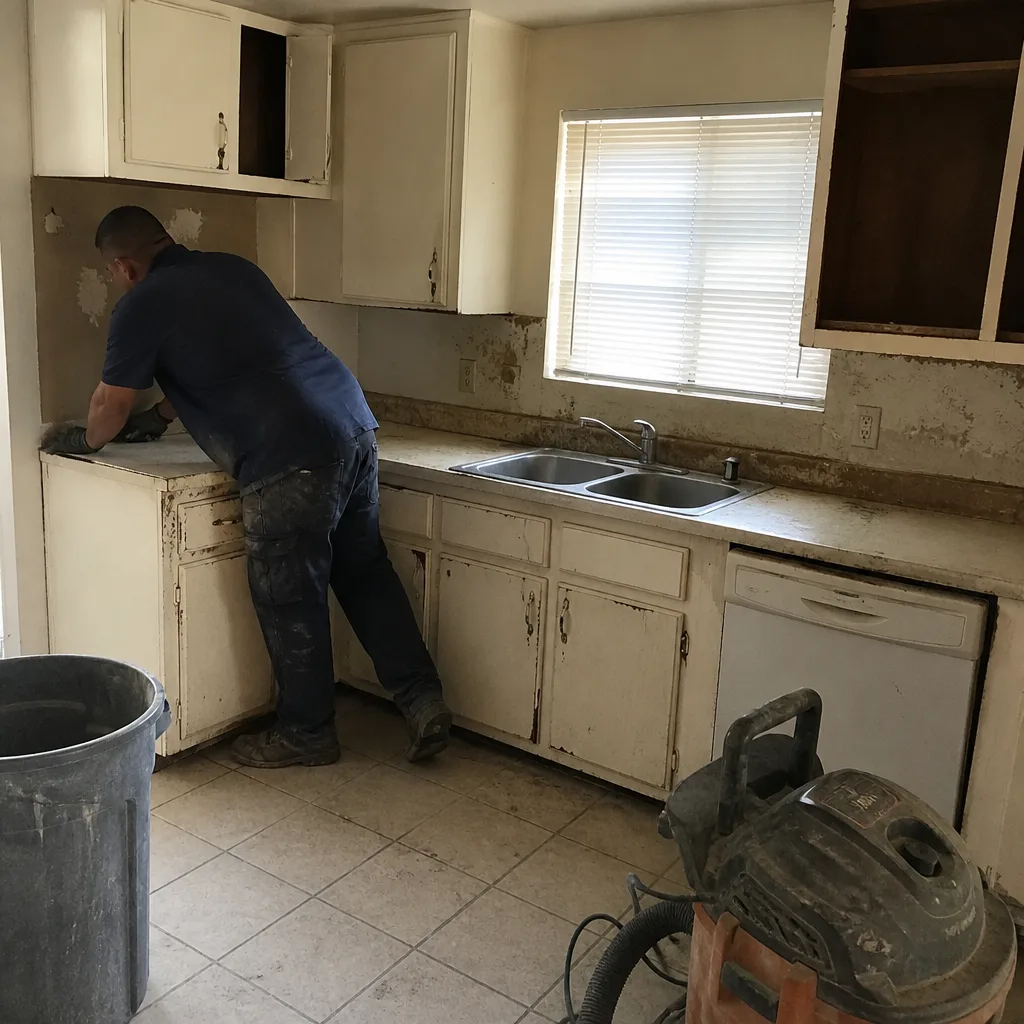 Before
 After
 Before
 After