
Last updated November 18, 2026








Free written scope consultation - allowances, timeline, and change-order rules on paper before a single trade is scheduled
Bathroom Remodeling Troubleshooting: Common Problems and How to Fix Them
Tile lippage, cracked grout, a drain that gurgles six weeks after the last box left the driveway – none of these are bad luck. Each is a traceable installation error with a specific cause, and most of them are visible while the tile is still being set, before a single bag of grout is mixed. The hard part isn’t fixing these problems. It’s knowing what to look at while the work is happening, when the fix costs the contractor nothing and the homeowner nothing but a conversation. That window closes quietly. This guide is about how to use it. We’ve watched homeowners in Whitney catch a substrate problem on a Tuesday and save themselves a spring of headaches.
Quick Answer
Most post-remodel bathroom problems come from four sources: a substrate that wasn’t flat or waterproof, tile set without proper spacing, ventilation that undershoots the room’s actual moisture load, and drains whose slope or trap was compromised during rough-in. The fix depends on whether the defect is cosmetic (grout haze, misaligned trim) or structural and code-related (lippage beyond ANSI tolerance, a leaking pan liner). Cosmetic issues usually fall under the contractor’s guarantee. Structural and code issues trigger a different response – a rework and, in most cases, a county inspection. Document everything in writing and you keep the leverage that makes the guarantee real.
Styles & brands we work with
- Kitchen remodeling
- Bathroom remodeling
- Home additions & ADU
- Roofing
- Windows & doors
- Driveway & pavers
- Fence
Table of Contents
- Reading the Work While It’s Happening
- Tile Lippage, Grout Joints, and What ANSI A108 Actually Says
- Substrate Problems Hiding Behind Your Tile
- Slow Drains After a Remodel: Whose Problem Is It?
- Ventilation Failures Six Months Later
- How to Document a Problem in Writing
- Cosmetic Callback vs. Code Deficiency
- Common Mistakes to Avoid
Reading the Work While It’s Happening
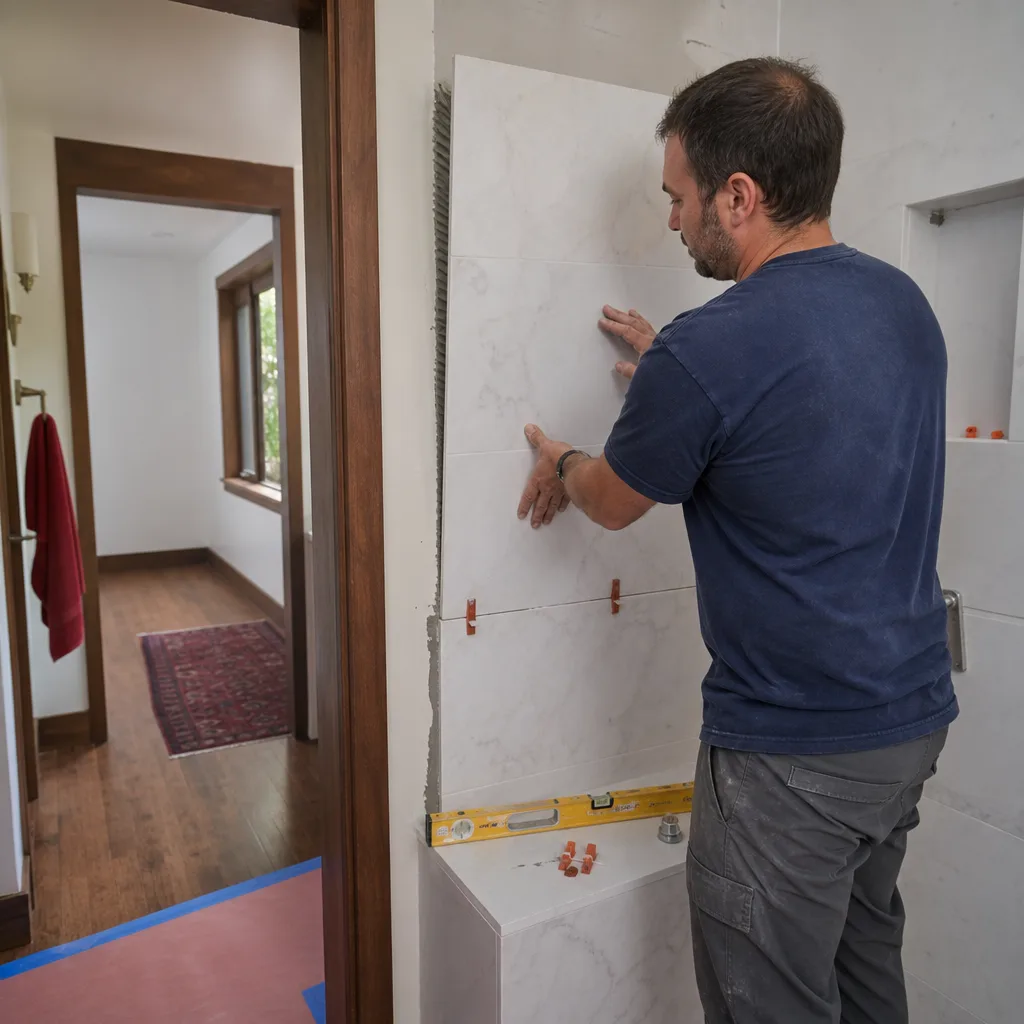
The single most useful thing you can do during a bathroom remodel is walk the room during the tile-setting phase, before grout goes in. This is when problems are still cheap to fix. Once grout is cured and the room is sealed, a lippage correction means tearing out a section of floor and starting over – a job that costs the contractor real money and the homeowner real weeks.
What to look for during that walk:
- Flatness of the substrate. Run a 6-foot straightedge or a level across the floor before tile goes down. If you can see more than 1/8 inch of gap under the middle, the substrate wasn’t leveled properly and every tile above it will struggle.
- Thinset coverage at the edges. Tap a set tile with a rubber mallet. A hollow sound at the corners means the thinset didn’t spread to the edges – a sign the tile wasn’t back-buttered.
- Spacing consistency. Joint widths should be uniform to a degree you can see by eye from a few feet away. A ruler check at several points beats eyeballing.
- Waterproofing at the wet wall. Ask to see the cement board joints before tile goes up. Taped and thinset-covered seams, plus a membrane or a rolled-on waterproofing layer on the walls inside the shower, are non-negotiable.
- Drain weep holes. Before the floor tile goes down, confirm the shower drain’s weep holes are clear. A drain set in mortar without protection will weep slowly for years.
None of this requires knowing how to install tile. It requires knowing what flat, uniform, and clean look like while the work is still open. In Whitney, where our dry climate hides moisture problems early and amplifies them late, a 15-minute walk-through during the set phase is worth more than any inspection after the final walk.
Tile Lippage, Grout Joints, and What ANSI A108 Actually Says
Lippage is the technical term for one tile sitting higher than its neighbor, creating a hard edge you feel with a bare foot. It’s the most common post-remodel complaint in bathrooms, and it’s also the one most easily spotted during installation.
The tolerance standard most contractors work to is drawn from ANSI A108, the tile installation standards used across the trade. For pressed-floor tile with a grout joint width of 1/4 inch or greater, the allowable lippage is 1/32 inch plus the allowable wear tolerance of the tile – which in practice works out to about 1/16 inch for most residential floor tile. For grout joints narrower than 1/4 inch, or for any tile with a cut edge, the tolerance tightens to zero. In plain terms: the thinner the grout line, the flatter the install has to be, and there’s no allowance at all for variance.
What that means for you:
- Ask what grout joint width the tile was specified for. Large-format tile (anything 15 inches or more on a side) usually calls for at least a 1/8-inch joint. A tile set tighter than the manufacturer’s spec will tent or debond within a year.
- Check a few joints with a small coin or a grout float edge. You can feel lippage your eye misses. A run of floor tiles should feel smooth across a foot.
- Look for tenting. If a floor tile sounds hollow and lifts slightly at one edge, it’s debonding – usually a thinset or substrate failure, not a tile defect.
- Grout cracking at the perimeter is different from grout cracking in the field. Perimeter cracks are almost always movement related and can be fixed with a flexible sealant. Field cracks point back to substrate movement.
If you catch lippage during the setting phase, the fix is a single tile pulled and reset. After grout, it’s a section. If you’re planning the project now, our bathroom remodeling in Whitney page walks through the phases of a job so you know when that check-in window opens.
Substrate Problems Hiding Behind Your Tile
Substrate is the layer your tile sits on – cement board, a poured mortar bed, or a tile backer panel. It’s the part of the job you’ll never see again once the room is finished, which is exactly why it’s where shortcuts get taken. A substrate problem can take three to five years to show itself as a cracked tile or a soft spot underfoot, and by then the evidence of the original mistake is buried under a finished floor.
The three substrate failures we see most in Whitney:
- Uneven floor before tile was set. Older homes in Whitney frequently have a slightly crowned or sloped floor under the bathroom. If the substrate wasn’t leveled with a self-leveling compound or a mortar bed before tile went down, lippage and cracked tiles follow. The fix requires lifting the floor.
- Cement board installed without a moisture barrier or membrane. Cement board is water-resistant, not waterproof. Behind tile in a shower, it needs a waterproofing layer – either a liquid membrane rolled over the board or a sheet membrane. Skip it and moisture travels into the framing.
- Fasteners set too deep or too far apart. Cement board should be screwed or nailed at a set spacing across the field and closer at edges. Missed fasteners mean flex, and flex cracks tile underfoot.
Ask to see the substrate before tile goes down. A reputable contractor will happily show you the board and the waterproofing before it disappears. What you’re checking for is a flat, quiet, waterproof surface with taped seams. If something looks thin or rushed, that’s the moment to raise it, not after the grout cures. For homeowners planning a larger scope, our general contractor in Whitney team handles the framing and rough-in questions that substrate problems often trace back to.
Slow Drains After a Remodel: Whose Problem Is It?
A drain that ran perfectly before the remodel and gurgles or pools afterward is almost never a “the house is old” problem. It’s one of three specific causes.
- Debris in the trap or line during construction. Thinset dust, grout, tile spacers, or a dropped screw fragment can enter the drain during demo or installation. This is on the contractor – the line should have been capped through the remodel, and a slow drain within the first 60 days is a straight callback.
- Incorrect drain slope after rough-in. If the shower floor was re-poured during the remodel, the drain body can end up set at the wrong height relative to the finished tile surface, causing a puddle or a slow drain. This is a workmanship issue, and the fix usually means resetting the drain and retiling a small section around it.
- A blocked or covered weep hole at the drain body. Weep holes at the base of the shower drain let water that’s made it past the tile and grout escape into the drain rather than sit in the pan. If mortar covered them during install, the pan fills slowly, and the drain reads as slow even though the line is clear. That’s an installation defect.
How to tell whether the fix is on the contractor’s dime or yours:
- Note when the slow drain started. Within 90 days of completion is almost certainly construction debris or installation error – contractor’s responsibility.
- Test a neighboring drain or sink. If only the shower is slow and it was functioning before, the problem is local to the shower rough-in or tile surface.
- Ask for a camera scope of the drain line. A clear line with a slow surface point to weep holes or slope. A blocked line points to debris.
- Keep the written documentation. A written guarantee, like the 365-Day Done Right Promise, obligates the contractor to return and correct a defect that shows up inside the covered window.
If the slow drain turns out to be a pre-existing main-line issue, that’s your problem and a plumber’s job. If it traces back to the remodel, the cost of the fix should be on the contractor – no service call, no re-inspection fee.
Ventilation Failures Six Months Later
Bathroom ventilation failure is quiet, and it always surfaces in the same three ways, in the same order.
- Grout joint darkening, starting at the shower wall. Grout that takes on a uniform dark cast after several weeks of regular use means the wall behind the tile is holding moisture. Either the exhaust fan isn’t moving enough air or the shower got the use of two people every morning with no ventilation.
- Peeling paint above the shower or on the ceiling. That’s condensation collecting on cool painted surfaces faster than it can dry. Undersized fan, short duct run terminating in the attic instead of through the roof, or a fan installed to run only when the light is on.
- Cabinet swelling or vanity door warp. The slowest symptom but the most telling. Particleboard and MDF soak up bathroom humidity and swell at the seams. If a cabinet that installed flat is bowing within a year, the room itself is wet.
The cause behind all three: an exhaust fan rated for cubic feet per minute (CFM) that undershoots the room. The general rule is one CFM per square foot of bathroom, and a bit higher if the ceiling is over 8 feet. Whitney’s dry climate makes this easy to ignore in summer – humidity reads low – but showers put out a lot of moisture, and the walls don’t get to dry between uses if the fan runs ten minutes after a shower and shuts off.
What to check: confirm the fan is ducted to the exterior, not vented into the attic. Confirm the fan runs at least 20 minutes after a shower, ideally on a timer. Confirm the CFM rating on the spec sheet matches the room. If the fan was undersized at install, replacing it is a modest fix and often the whole problem.
How to Document a Problem in Writing
A contractor who offers a written guarantee is bound by it – but only against a claim the guarantee can recognize. A phone call that says “the tile looks off” is a conversation. A written record is a claim. Here’s how to make one in ten minutes.
- Photograph the problem with a scale. Place a coin, a ruler, or a tape measure against the tile or joint you’re concerned about, and take a straight-on photo with good light. A dated phone photo is fine.
- Write a short, factual description. What, where, and when it started. “Cracked grout joint between the third and fourth floor tile on the south wall, noticed three weeks after completion” beats “the grout is cracking.”
- State what you believe the cause is – and why. “The crack runs through the field of grout, not the perimeter, and one tile sounds hollow when tapped.” Facts point back to a workmanship issue rather than settling.
- Send it in writing. Email the contractor with the photos attached and a short note asking for a return visit. Keep the email chain.
- Ask for the response and the fix in writing too. A written guarantee responds to a written record. Verbal agreements reframed later as “we discussed it” are the trap this step avoids.
The benefit is one-sided in a good way: a written claim is easy to honor, and a contractor with a real guarantee honors it without argument. The Kingswell Way puts it plainly – say the price before the work, show up in the window we gave, leave the place cleaner than we found it – and a written claim is how you hold any contractor to that.
Cosmetic Callback vs. Code Deficiency
Not every post-completion problem is the same class of issue, and the difference matters for how you raise it.
A cosmetic callback is a problem of appearance or finish: grout haze left on tile, a crooked trim board, a door that doesn’t quite close after a frame adjustment. These are real but low-stakes, and they fall under workmanship in any written guarantee.
A code-related deficiency is a problem that fails a building code section or standard: a shower pan liner with no pre-slope, a drain installed without a proper trap, an exhaust fan vented into an attic, a missing waterproofing membrane on a shower wall, or electrical work near a wet location done without GFCI protection. These are not just “make it look right” fixes. They often require re-inspection by the county, and the fix runs deeper than surface.
Why the response differs:
- Cosmetic issues are typically covered by the contractor’s own guarantee and fixed on a return visit without a county inspection.
- Code issues pull the county back in. Many jurisdictions require a re-inspection after structural or code-grade rework, and the contractor may need to pull a supplemental permit to do the fix correctly.
- Deferred maintenance – the slow drip you didn’t notice for a year, the caulk joint left unsealed – is on the homeowner, not the contractor, and it’s not what the guarantee covers.
Ask the contractor directly: “Is this a cosmetic issue or a code issue?” A clear answer tells you a lot. If the problem turns out to be installed without a permit at all, that’s the moment to check whether the county has a record of the work. For remodels of the scope where permits matter most, our kitchen remodeling in Whitney page walks through how permits are handled on a full-scope job – the same rules apply to bathrooms.
Common Mistakes to Avoid
- Signing off on the final walk before grout fully cures. Grout needs 24 to 72 hours to cure depending on product. Wait a few days, then walk the room again before the final invoice is settled.
- Not asking to see the substrate. Once tile is down, it’s gone. Ask for a walk-through between the substrate and tile-setting phases – that’s the one look at it you’ll ever get.
- Accepting a verbal response to a written complaint. Send your concern by email and keep the response. “Bob said he’d take care of it” doesn’t carry weight once Bob is off the job.
- Confusing settling with installation error. A house settles at the foundation, not at the tile joint. Cracks and lipping inside a shower floor point back to install – a contractor who calls it normal settling is reframing a fixable problem.
- Overlooking the exhaust fan spec sheet. Whitney’s dry summers make moisture problems easy to miss in June and hard to deny in December. Match the CFM to the room before demo starts.
- Assuming the drain issue is a plumbing emergency. A slow drain is sometimes a thirty-minute fix at the grate. Ask for a camera scope before anyone cuts into the floor.
- Forgetting to ask when the final inspection happens. If your remodel was permitted, the county inspector should sign off before final payment. That record of inspection is the strongest documentation you can have.
See the difference
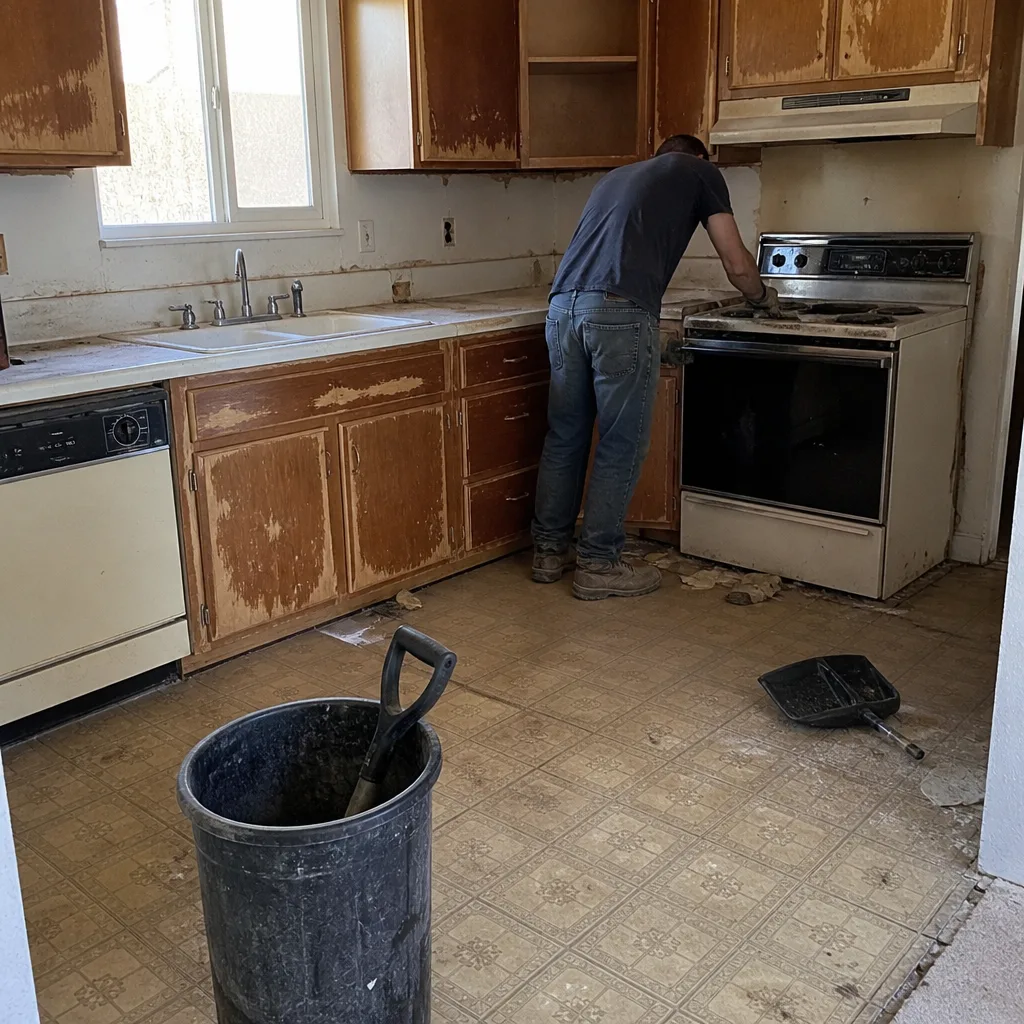 Before
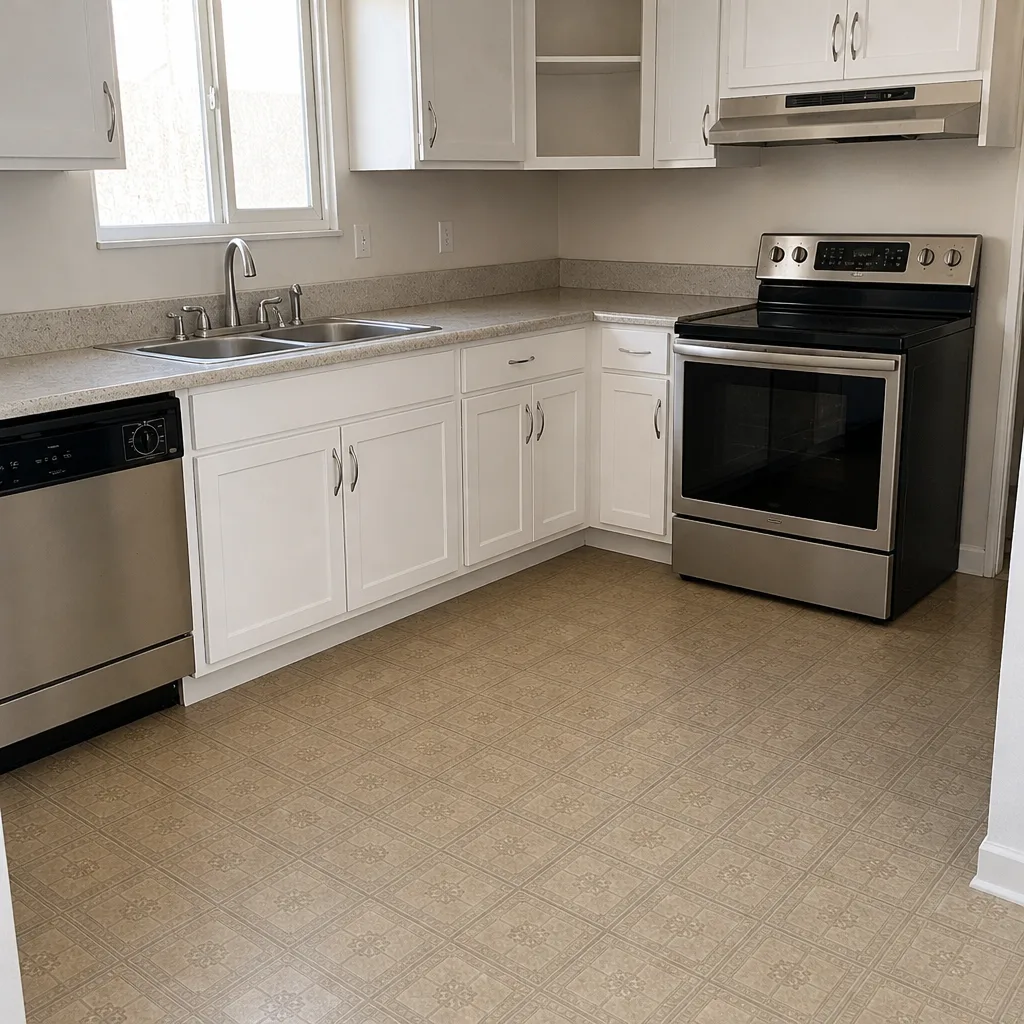 After
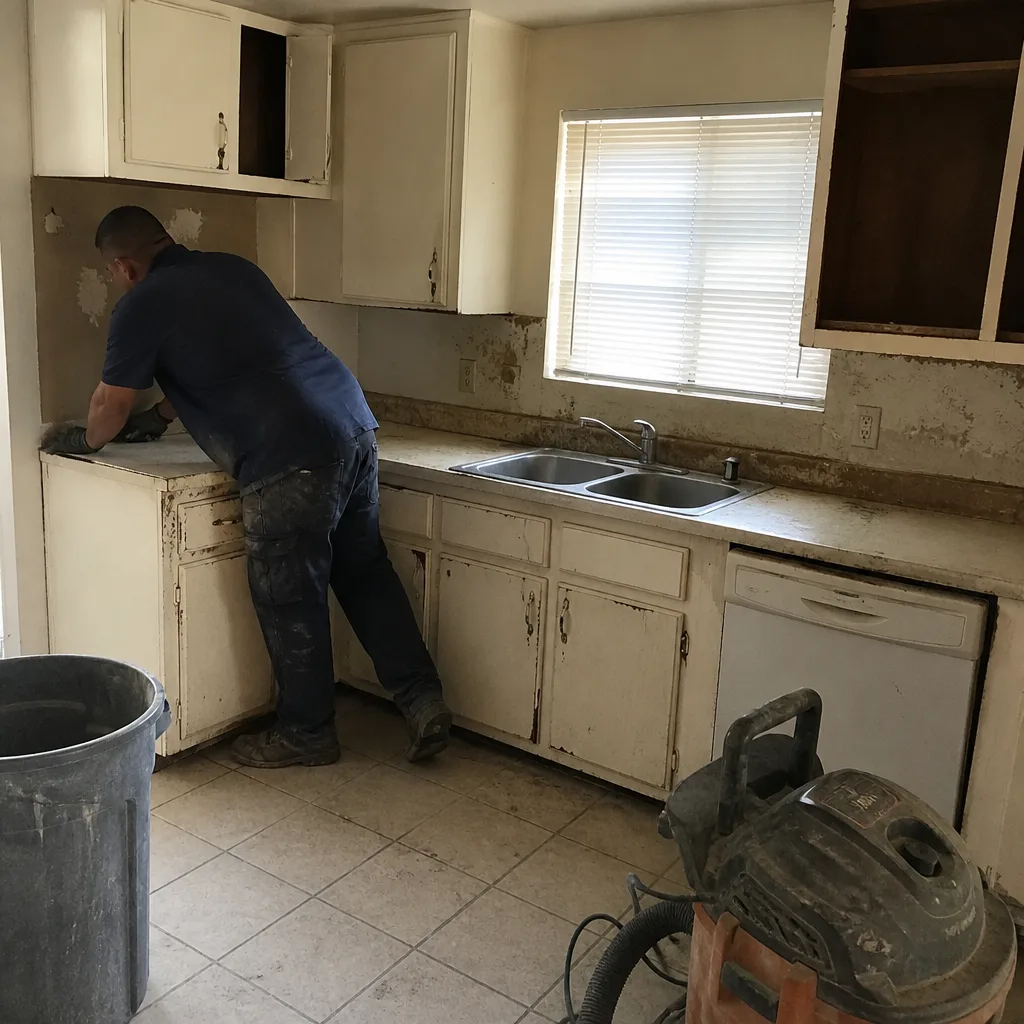 Before
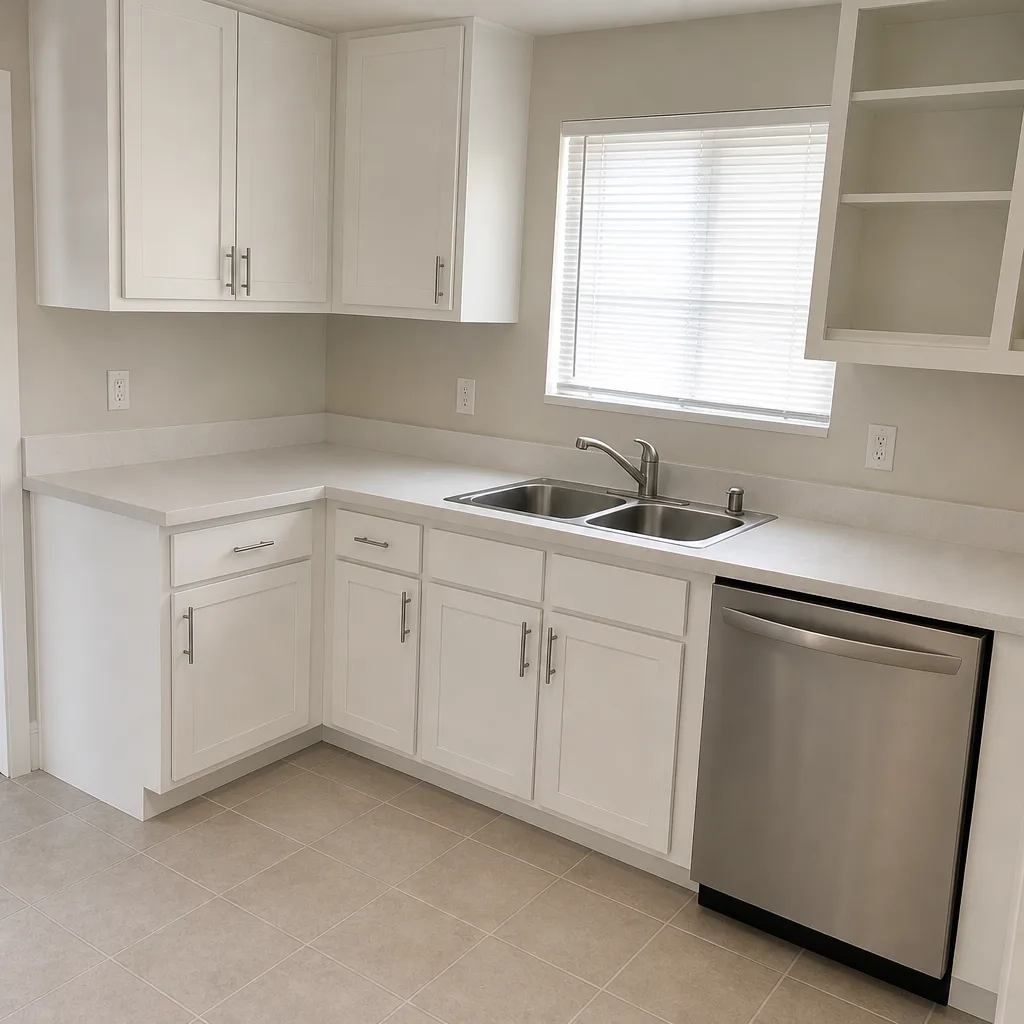 After
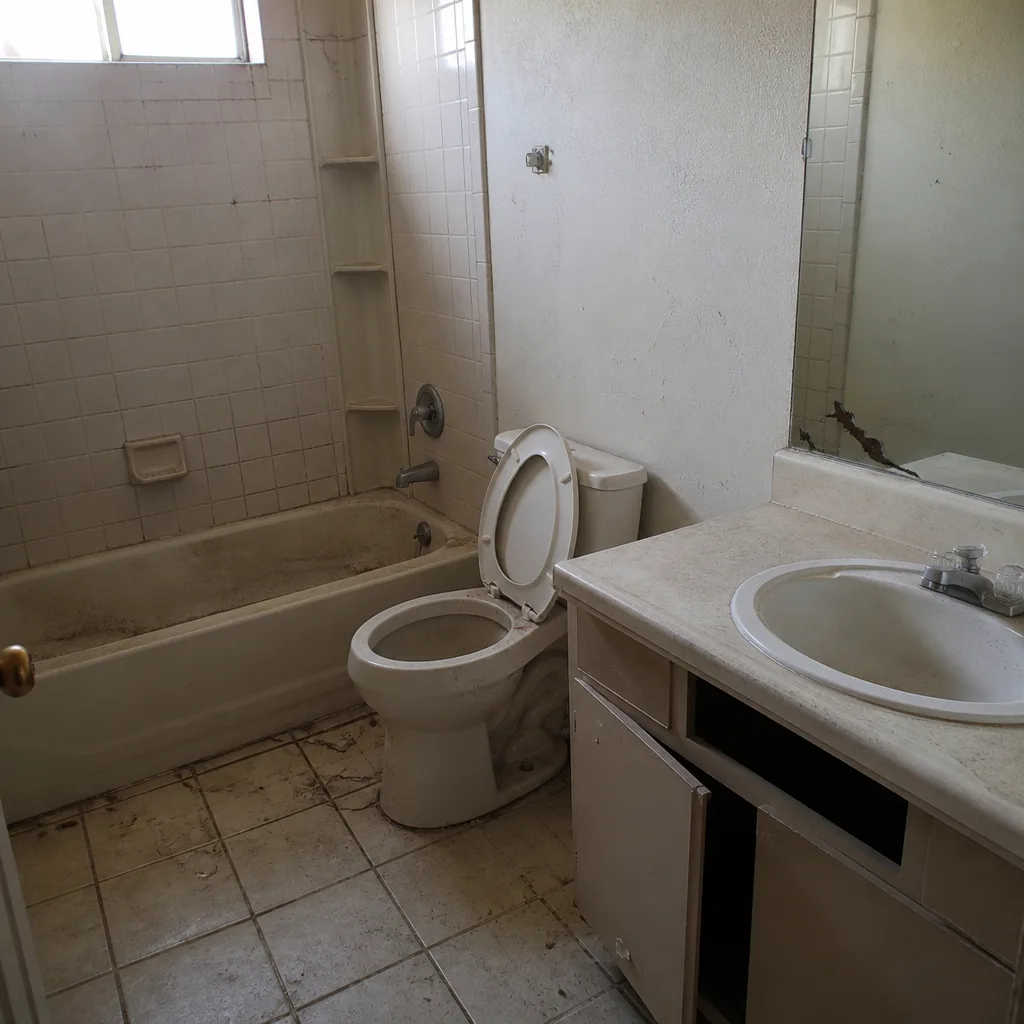 Before
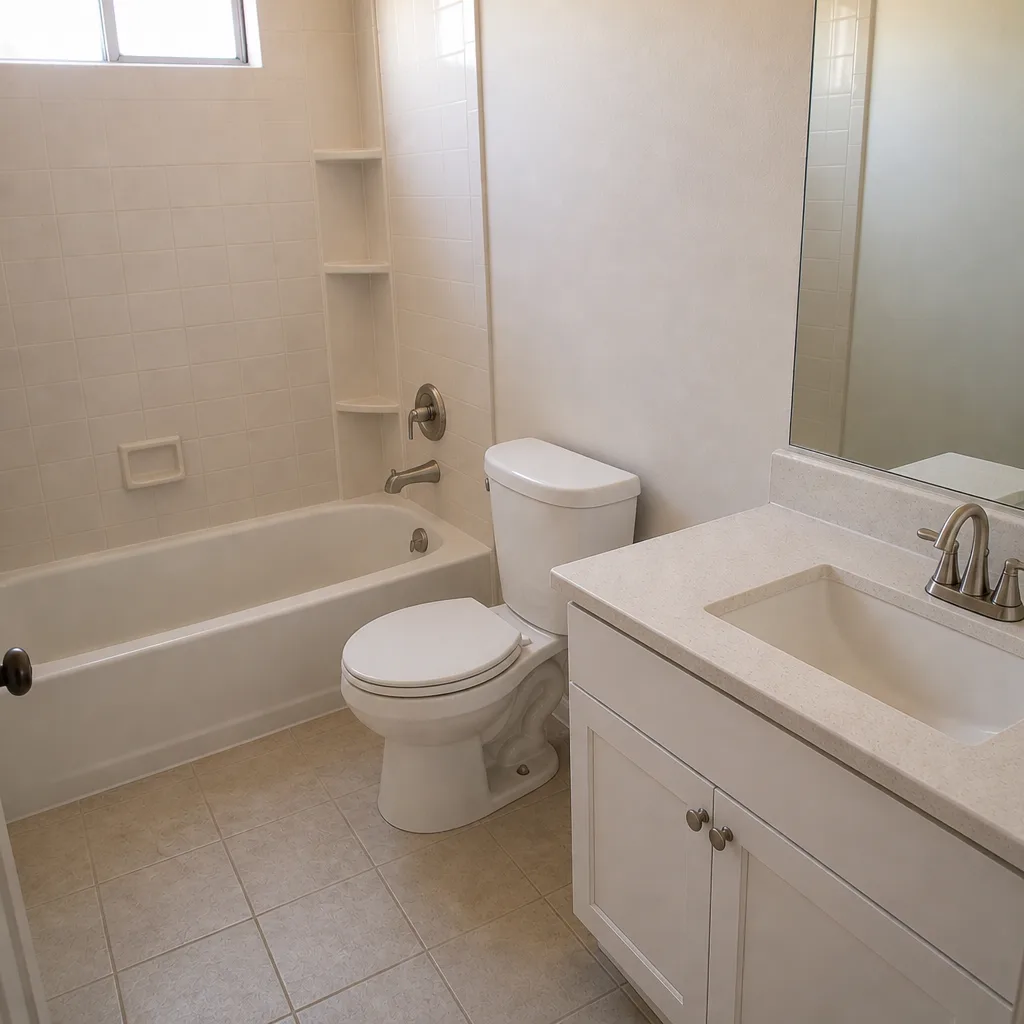 After
When to Call a Professional
Some of these fixes are within a handy homeowner’s reach: replacing an undersized exhaust fan, re-caulking a perimeter joint, or resetting a decorative trim piece. Others aren’t. If the floor tile sounds hollow across more than a tile or two, if the shower pan holds water, if a drain that worked before the remodel has slowed, or if an exhaust fan is venting into the attic instead of through the roof, it’s time to call. Most of these are the contractor’s problem to solve, and the ones that aren’t are still code-grade work. The substrate, the shower pan, and the drain rough-in are not homeowner repair territory.
Penhallow Remodeling Whitney offers free estimates in Whitney – call (833) 721-7402. Every project gets a written price before any work starts, a defined arrival window, background-checked uniformed technicians, and the 365-Day Done Right Promise in writing. If something we installed fails inside the guarantee period, we come back and fix it at no charge. If a repair doesn’t hold, the second visit is free.
Frequently Asked Questions
A well-installed bathroom should show no structural or code-grade problems for a decade or more. Grout haze, fixture adjustments, and door alignment issues in the first 60 days are normal and covered by any real guarantee. Cracks, lippage, and slow drains within the first year are not – those point to installation errors that could have been caught during the work. Call us at (833) 721-7402 for a free estimate if a remodel in Whitney is ahead of you rather than behind.
The most common cause is construction debris – thinset, grout, or a dropped fastener – caught in the drain or trap. The second is a shower pan re-poured without proper slope to the drain body. The third is a covered weep hole at the drain base. Ask for a camera scope of the line before deciding who’s responsible. If the slow drain started within 90 days of completion, it’s almost certainly on the contractor. Call us for a free estimate if you need a fresh start: (833) 721-7402.
Lippage is one tile edge sitting above a neighbor. The ANSI A108 standard used across the trade allows roughly 1/16 inch of variance for pressed floor tile with grout joints 1/4 inch or wider – and none at all for cut-edge tile or joints under 1/4 inch. If you can feel a hard edge walking barefoot, it exceeds the practical tolerance. If you’re planning a bathroom remodel in Whitney and want the substrate and tile setting done right the first time, call (833) 721-7402 for a free estimate.
Yes, in most cases. Any work that touches plumbing rough-in, electrical circuits in wet locations, or structural framing requires a permit through the local jurisdiction. Cosmetic work – tile replacement over an existing surface, paint, or a vanity swap that doesn’t move plumbing – often doesn’t. The safest approach is to ask the contractor to pull the permit and to confirm the final inspection happened before you pay the last invoice. Call (833) 721-7402 to talk through permit scope on a Whitney bathroom.
A contractor shouldn’t, and a real written guarantee makes it hard to. Settling happens at the foundation. Tile joints, grout cracks, and lippage inside a shower aren’t settling – they’re installation- or material-related. If a contractor reframes a fixable problem as settling, put your concern in writing with photos and ask for a written response. The 365-Day Done Right Promise exists precisely to close that gap: if work fails inside the guarantee period, we come back and fix it at no charge. Call (833) 721-7402 for a free estimate on a Whitney bathroom project.
Cosmetic problems are appearance and finish: grout haze, a misaligned trim piece, a door that rubs. Code deficiencies are structural or safety-related: a shower pan without a waterproofing layer, an exhaust fan venting into the attic, missing GFCI outlets in a wet location, or a drain without proper slope. Cosmetic fixes come back through the contractor’s guarantee. Code deficiencies often require a re-inspection and, sometimes, a supplemental permit. Call (833) 721-7402 for a free estimate on a Whitney bathroom that needs a real fix.
The Bottom Line
Every one of the problems in this guide is visible earlier than it shows up. Tile lippage, substrate flex, drain slope, and exhaust CFM are all set in place before the room is grouted – and that’s the window where the fix is cheap and the guarantee does its job. Walk the room during tile setting. Ask to see the substrate. Match the fan to the room. Put concerns in writing the moment you have them. A contractor with a real written guarantee – a written price up front, a defined arrival window, a 365-Day Done Right Promise – honors a documented claim without argument. That’s the standard behind Penhallow Remodeling Whitney home, and it’s the standard worth asking about before any job starts.
Free Estimate and Contact
If you’re planning a bathroom remodel in Whitney or you’re sitting on a post-completion problem that needs a written answer, call Penhallow Remodeling Whitney at (833) 721-7402 for a free estimate. Our technicians have up to 22 years of experience, arrive background-checked and in uniform, and put every project on the same standard: written price before any work starts, written guarantee on every job, and a second free visit if a repair fails. We work from materials sourced through recognized trade brands – KraftMaid and Wellborn cabinetry, Cambria and Silestone countertops, Kohler and Moen fixtures, James Hardie siding – so the products behind the guarantee match the promise made in writing. Call (833) 721-7402 and a live person answers, any hour.
Written by the team at Penhallow Remodeling Whitney.