Last updated November 18, 2026



Free written scope consultation - allowances, timeline, and change-order rules on paper before a single trade is scheduled
DIY vs Professional Bathroom Remodeling: What’s Safe to Do Yourself
The most common insurance claim we see on owner-performed bathroom remodels doesn’t start with a wiring mistake. It starts behind the tile. A shower pan built without a flood test, or a niche set without a waterproof membrane, looks flawless for about 18 months and then hands you an $8,000 remediation bill when the ceiling below starts to stain. Water is patient. It finds the one seam you skipped. This guide draws an honest line between the bathroom tasks that reliably save homeowners money and the ones that generate the most expensive callbacks in residential remodeling, with the Nevada licensing rules that decide the question for you in some cases.
Quick Answer
Safe DIY bathroom work is demolition, painting, swapping a vanity, and replacing a like-for-like fixture such as a faucet or toilet. Work that touches the waterproofing layer, the drain rough-in, or the electrical circuit is where DIY fails inspection and causes water damage, and in Nevada the plumbing and electrical portions legally require a licensed trade regardless of whether you’re acting as your own general contractor. Everything in between is a judgment call about your tolerance for rework.
Styles & brands we work with
- Kitchen remodeling
- Bathroom remodeling
- Home additions & ADU
- Roofing
- Windows & doors
- Driveway & pavers
- Fence
Table of Contents
- Where DIY bathroom work actually passes inspection
- Where DIY fails: waterproofing, drains, and electrical
- What Nevada requires a licensed plumber and electrician to do
- What you really save on DIY tile after tools, waste, and rework
- How to structure a hybrid project without stepping on the trades
- The three questions to ask before you start any bathroom task
- A cost comparison: DIY vs professional by task
- Common mistakes to avoid
Where DIY bathroom work actually passes inspection
Some bathroom work is genuinely low-risk, and we tell Whitney homeowners to keep it. Demolition is the clearest example. Pulling old tile, hauling out a dated vanity, and stripping a room to the studs is labor, not craft. A homeowner with a pry bar, a utility knife, and a dumpster can clear a standard hall bath in a weekend and save real money doing it. The one caution: know where the shutoff valves are before you swing a sledgehammer, and cap or shut off supply lines before demo, not after.
Painting is next. Bathroom paint needs a mold-and-mildew-resistant product and a proper primer over patched drywall, but the skill ceiling is low and the cost of a do-over is a gallon of paint. Vanity swaps fall in the same bucket if the plumbing connections line up and you’re not moving the drain. Fixture replacement is the fourth reliable category: a new faucet, a showerhead, a toilet set on an existing flange.
- Demolition and haul-away: high DIY value, low technical risk.
- Painting and patching: forgiving, cheap to redo.
- Vanity replacement: safe when the drain and supply locations stay put.
- Like-for-like fixture swaps: faucets, showerheads, toilets on existing rough-in.
- Accessory installs: mirrors, towel bars, shelving, backsplash tile on a small area.
Notice what’s on that list: almost nothing that involves the wet zone. That’s deliberate. If you’re planning a full overhaul and want to see how a professional scopes the dry side against the wet side, our bathroom remodeling in Whitney page walks through the breakdown.
Where DIY fails: waterproofing, drains, and electrical
Here’s the honest data. When we get called to inspect a failed owner-built shower in the Whitney area, the story is almost always the same: the tile looked great, the grout held, and then a slow leak rotted the subfloor and the framing behind the wall. Waterproofing is the single most common point of failure in a DIY bathroom, and it’s also the least visible. A cement board substrate (the moisture-resistant layer behind your tile) is not waterproof on its own. It needs a membrane, a liquid-applied coating, or a bonded sheet system, installed to the manufacturer’s spec, with the seams and corners detailed correctly.
Why shower waterproofing fails so often
Three things trip up first-time tilers. First, they skip the flood test on a shower pan – fill the pan with water, mark the level, wait 24 hours, and confirm it hasn’t dropped. Second, they tile a niche or a bench without a continuous membrane behind it, which creates a hidden pocket where water collects. Third, they slope the pan wrong, so water pools at the drain flange instead of running to it. Each of these looks perfect for 12 to 18 months. Then the damage surfaces on the ceiling below, and remediation means tearing out the shower you just finished.
Drain rough-in and electrical
Moving a drain is a rough-in task. It involves cutting into a drain line, setting slope, and connecting to the waste stack – work that requires a permit and, in Nevada, a licensed plumber. Electrical in a bathroom is a code minefield: GFCI protection, dedicated circuits, exhaust fan sizing, and clearances around the tub and shower. A DIY bathroom electrical mistake doesn’t just fail inspection – it’s a shock and fire risk. We don’t recommend homeowners touch the circuit. Ever.
What Nevada requires a licensed plumber and electrician to do
This is where a lot of DIY plans fall apart before they start. Nevada requires that plumbing and electrical work be performed by licensed contractors, and that requirement doesn’t disappear because you’re acting as your own general contractor on your own home. You can pull an owner-builder permit for the structural, drywall, and finish work in some cases, but the wet and electrical trades are a different matter. That’s not a rule we invented to sell work. It’s the law, and inspectors enforce it.
Practically, this means:
- Any change to supply or drain lines – moving a sink, relocating a shower valve, adding a drain – is plumber work under a plumbing permit.
- Any new or altered electrical circuit – adding a GFCI outlet, wiring a fan, installing a heated floor – is electrician work under an electrical permit.
- Waterproofing and tile don’t have a trade-license requirement, but they do require a permit in most jurisdictions when they’re part of a permitted remodel, and they get inspected.
If you’re acting as your own GC, the permit and inspection chain is on you. Miss a rough-in inspection and you may be opening walls to expose work you already closed. Our general contractor in Whitney page explains how we sequence permits and inspections so work isn’t buried before it’s signed off.
What you really save on DIY tile after tools, waste, and rework
Here’s the part most DIY guides skip. The tile itself is a small fraction of the cost of tiling. When a Whitney homeowner tells us they’re going to tile the shower themselves to save money, we ask them to total the real inputs first. Wet saw rental runs $60 to $90 a day, and a shower takes more than a day. A decent tile trowel set, float, sponge, and mixing paddle add up. Membrane, thinset, grout, and trim overage is real – figure 10% to 15% waste on a first tile job, not the 5% a pro plans for. And then there’s the cost of rework, which is the number that decides the question.
- Tool and rental cost: $150-$400 for a one-time shower tile job.
- Material waste: 10%-15% overage on a first attempt versus 5% for a pro.
- Time: a first-time tiler on a full shower often spends 30-50 hours versus 12-20 for a pro.
- Rework risk: if the pan or membrane fails, remediation typically runs $4,000-$8,000 once the subfloor and framing are involved.
The honest math: on a 40-square-foot shower, DIY tile might save $800 to $1,500 in labor – until one waterproofing mistake erases it several times over. That’s the asymmetry. The labor savings are capped; the failure cost isn’t. Tiling a dry backslash, a floor that’s not in the wet zone, or a small accent area is a much better place to practice.
How to structure a hybrid project without stepping on the trades
The best-value bathroom remodel for most Whitney homeowners is a hybrid: handle the low-risk work yourself, hire licensed trades for the high-risk work, and either manage the sequencing yourself or bring in a general contractor to coordinate. Hybrids work well, but they fall apart on coordination. Here’s the sequence that keeps it clean.
- Decide the scope first. Write down every task and mark it DIY, licensed trade, or GC. Don’t start demo until the list is set.
- Pull the permits before demo. A plumbing or electrical permit has to be issued before the work is exposed, not after.
- Demo first, then trades. Tear out, then let the plumber and electrician rough in, then get the rough-in inspection signed off before walls close.
- Handle the dry work yourself in the gaps. Demo, framing cleanup, drywall patching, and paint slot naturally between trade visits.
- Bring in the wet-zone tile last. Waterproofing and shower tile go after rough-in inspections pass and the pan is set.
If you hire trades directly, you’re the GC – which means you own the schedule, the inspections, and any gaps between crews. Many homeowners find it’s the coordination, not the labor, that costs the most time. Our team at Penhallow Remodeling Whitney handles the whole sequence under one written price when homeowners would rather not run the trades themselves. We install Kohler and Moen fixtures and set tile over a properly specified waterproofing system, and we pull the permits and hold the inspections as part of the job.
The three questions to ask before you start any bathroom task
Before you pick up a tool on any bathroom task, ask these three questions. The answers decide whether it’s DIY or hire.
1. Does this touch the moisture barrier?
If the task involves the shower pan, a niche, a bench, the floor of the wet zone, or the wall behind the tile, the answer is yes. Waterproofing failures are the most expensive in the trade. If the task doesn’t touch the barrier – painting, a vanity, a faucet swap – you’re in safer territory.
2. Does this touch a supply or drain line?
Any change to a pipe, valve, or drain triggers a permit and a licensed plumber in Nevada. A like-for-like faucet swap that reuses the existing supply lines is a gray area – doable, but if it leaks, it leaks inside a cabinet. Moving a drain is not a DIY task.
3. Does this require a permit?
If the answer is yes, the task also requires an inspection, which means any DIY work you do there has to pass the inspector’s eye. Shower pan replacement, drain relocation, electrical changes, and any structural change to a bathroom wall all need permits in most jurisdictions. When in doubt, call the building department before you start. The five-minute phone call is cheaper than a failed inspection.
A cost comparison: DIY vs professional by task
Here’s where the trade-offs land in dollar terms for a typical Whitney hall bath. These are ranges, not quotes, and they shift with material choices and the age of the house.
- Demolition: DIY saves $400-$900 in labor; low risk.
- Painting: DIY saves $300-$700; low risk.
- Vanity swap (no plumbing move): DIY saves $250-$600; low risk.
- Faucet/toilet replacement: DIY saves $150-$350 per fixture; low risk, watch for leaks.
- Shower tile over existing waterproofing: pro recommended; DIY savings $800-$1,500 with real rework risk.
- Shower pan and waterproofing: pro strongly recommended; DIY failure cost $4,000-$8,000.
- Drain relocation: licensed plumber required; not a DIY line item.
- Electrical changes: licensed electrician required; not a DIY line item.
If you’re planning a full remodel, the honest floor for a gut bathroom is around $18,000 to $35,000 depending on size, fixtures, and whether the layout moves. A kitchen remodel runs higher for the same reason – wet and electrical work drive the cost more than tile ever will. Cambria or Silestone surfaces upgrade the finish but rarely cause a callback; a bad shower pan always does.
Common Mistakes to Avoid
- Skipping the flood test on a new shower pan. Fill the pan, mark the level, wait 24 hours. If it drops, stop and fix the liner. Skip this and you’ll be tearing out finished tile within a year.
- Tiling a niche or bench without a continuous membrane behind it. The niche is the single most common leak point we see on failed DIY showers. Waterproof the whole assembly, seams included, before the first tile goes up.
- Treating cement board as waterproof. It’s water-resistant, not waterproof. A membrane over it is what keeps water out. Every failed Whitney-area shower we’ve inspected skipped this step.
- Closing up walls before rough-in inspection. If the plumbing or electrical rough-in hasn’t been signed off, you’ll open the walls again. Sequence the inspection before drywall, every time.
- Underestimating tile waste. First-time tilers burn 10% to 15% on cuts alone. Buy the extra box up front; a dye-lot mismatch on the second order is a nightmare.
- Doing electrical because it “looks easy.” GFCI protection, dedicated circuits, and clearances around wet zones are code, not suggestions. One mistake and the room fails inspection or worse.
- Managing subs without a written sequence. A verbal handshake with the plumber about when he’ll show up is not a schedule. Put every trade visit in writing.
See the difference
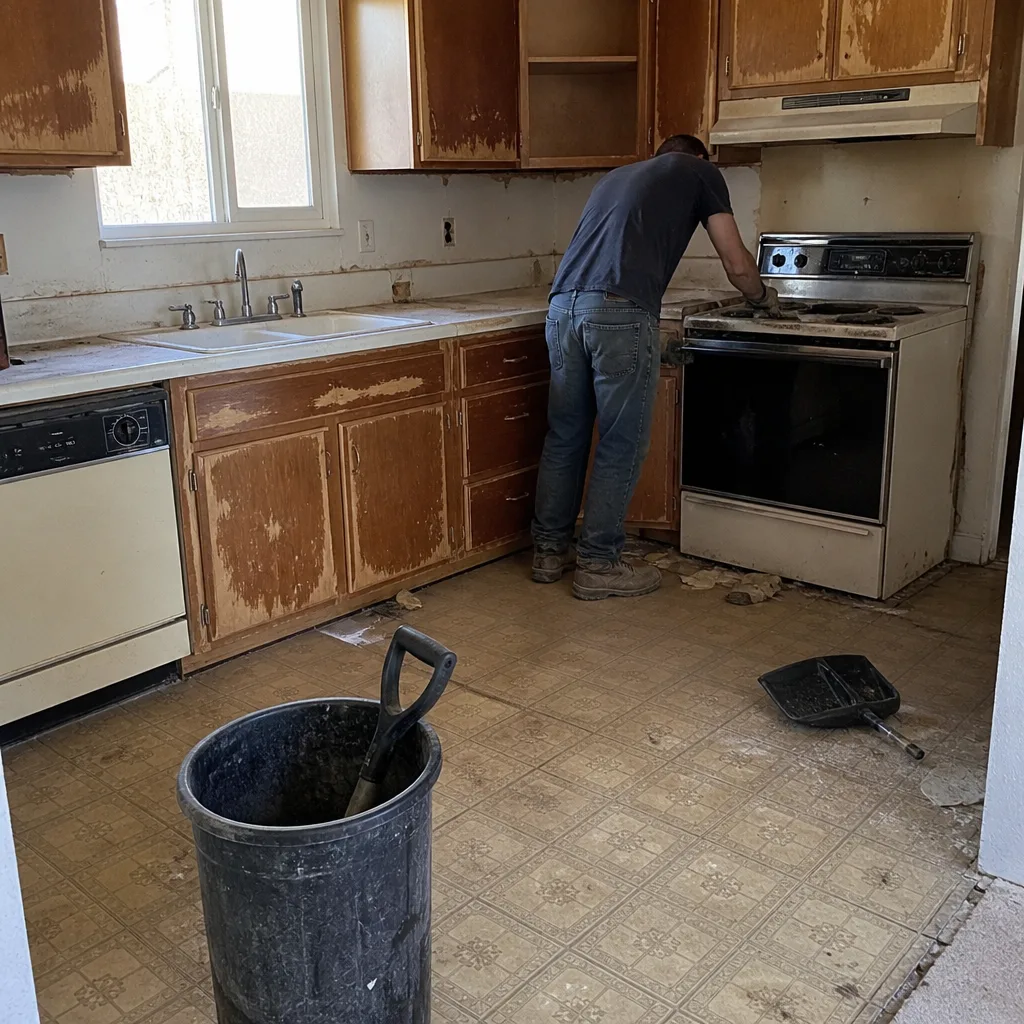 Before
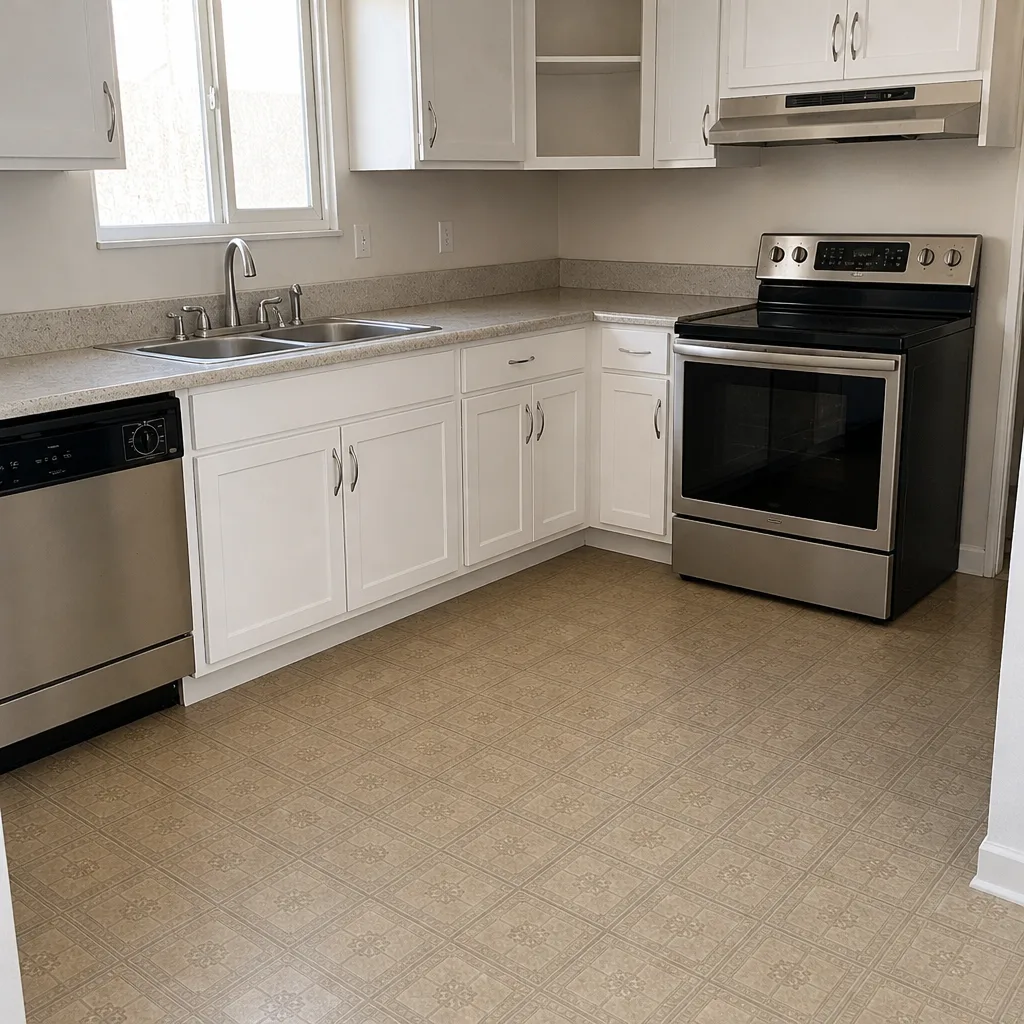 After
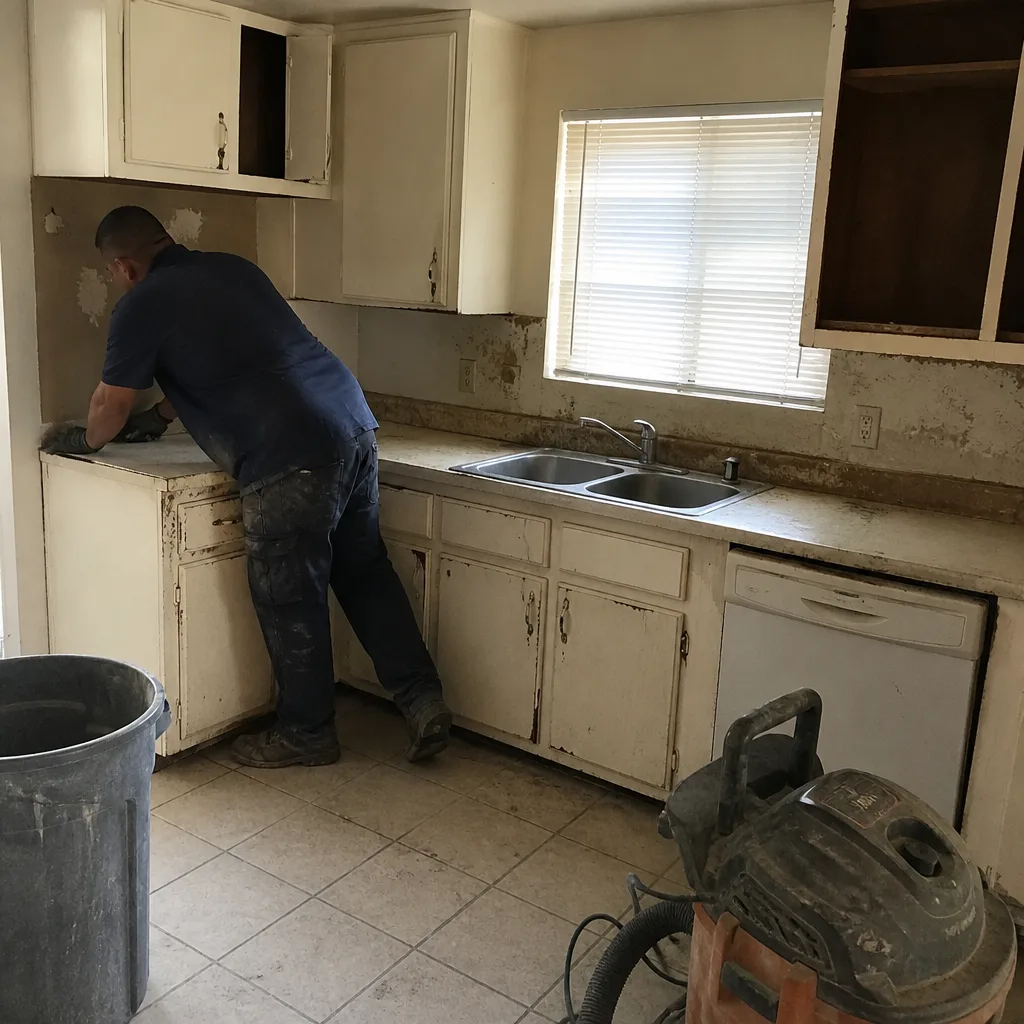 Before
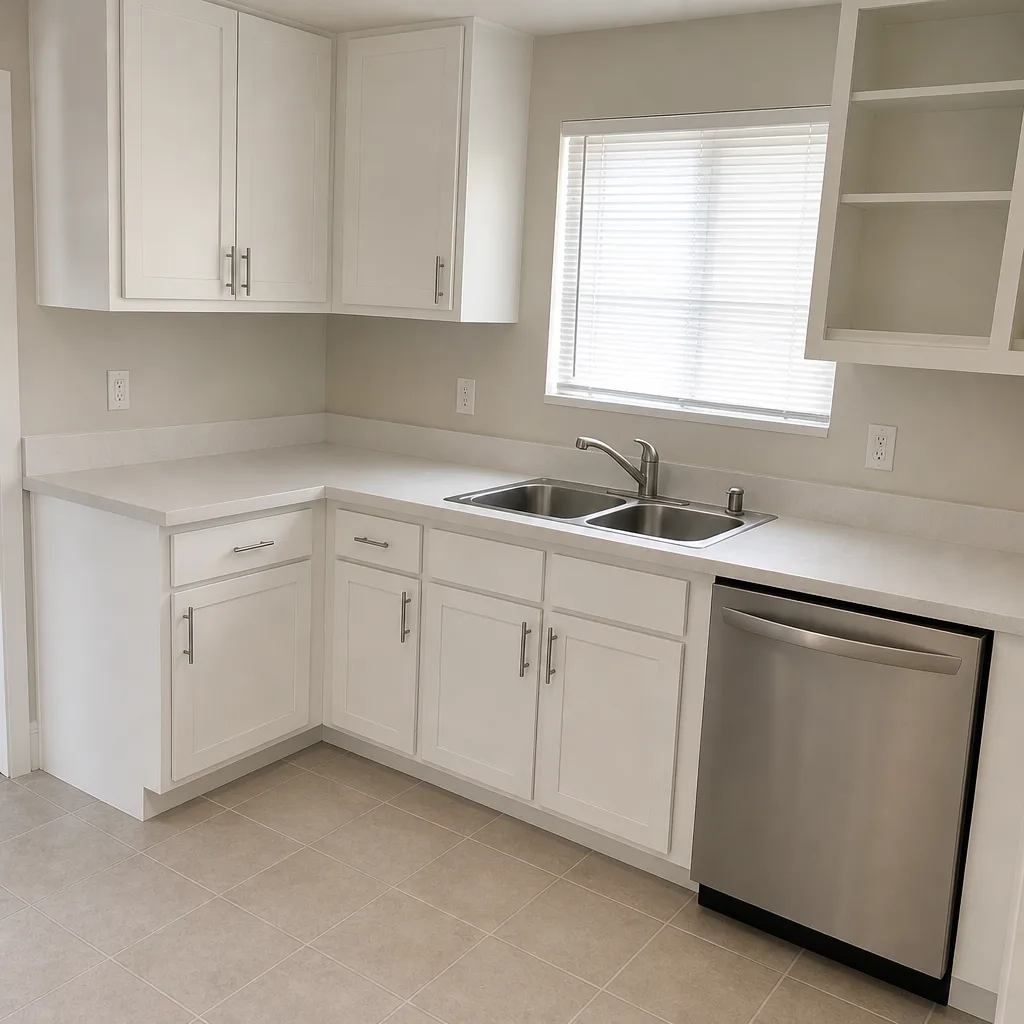 After
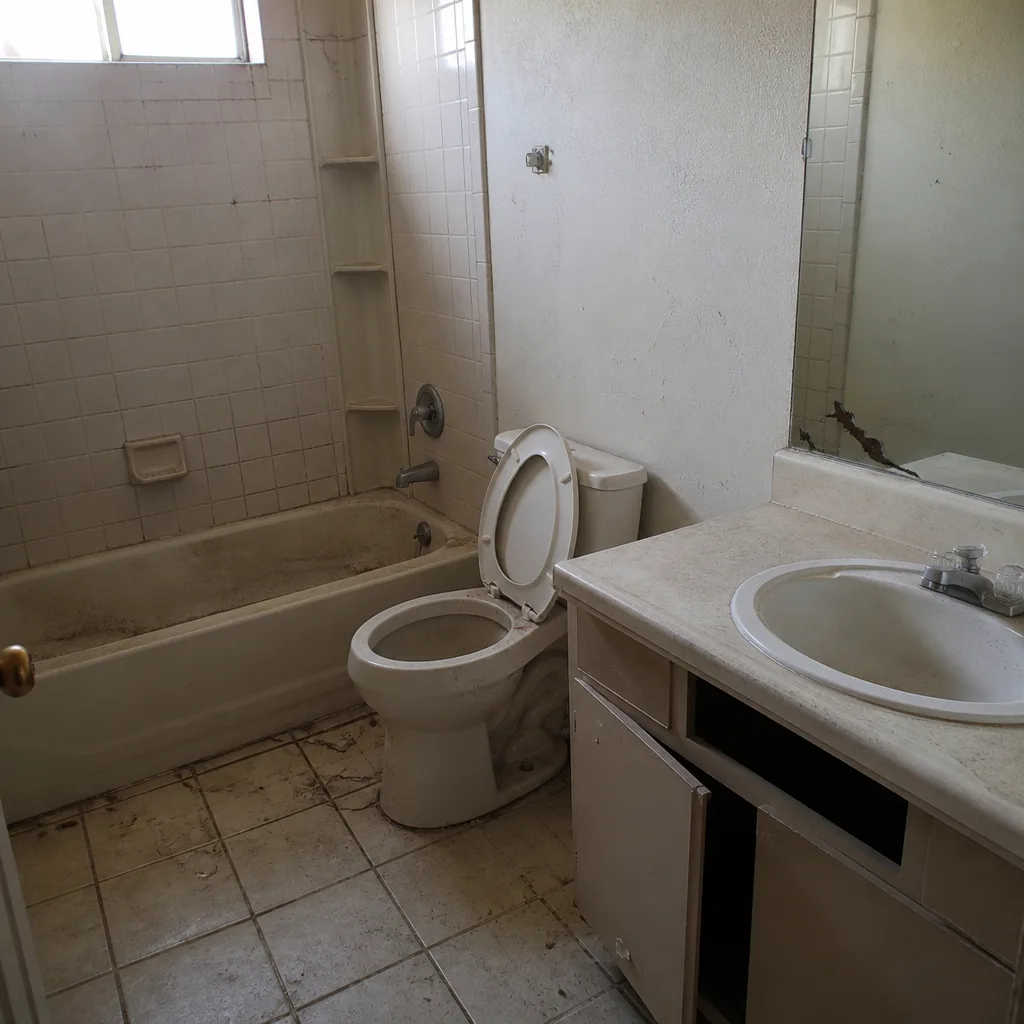 Before
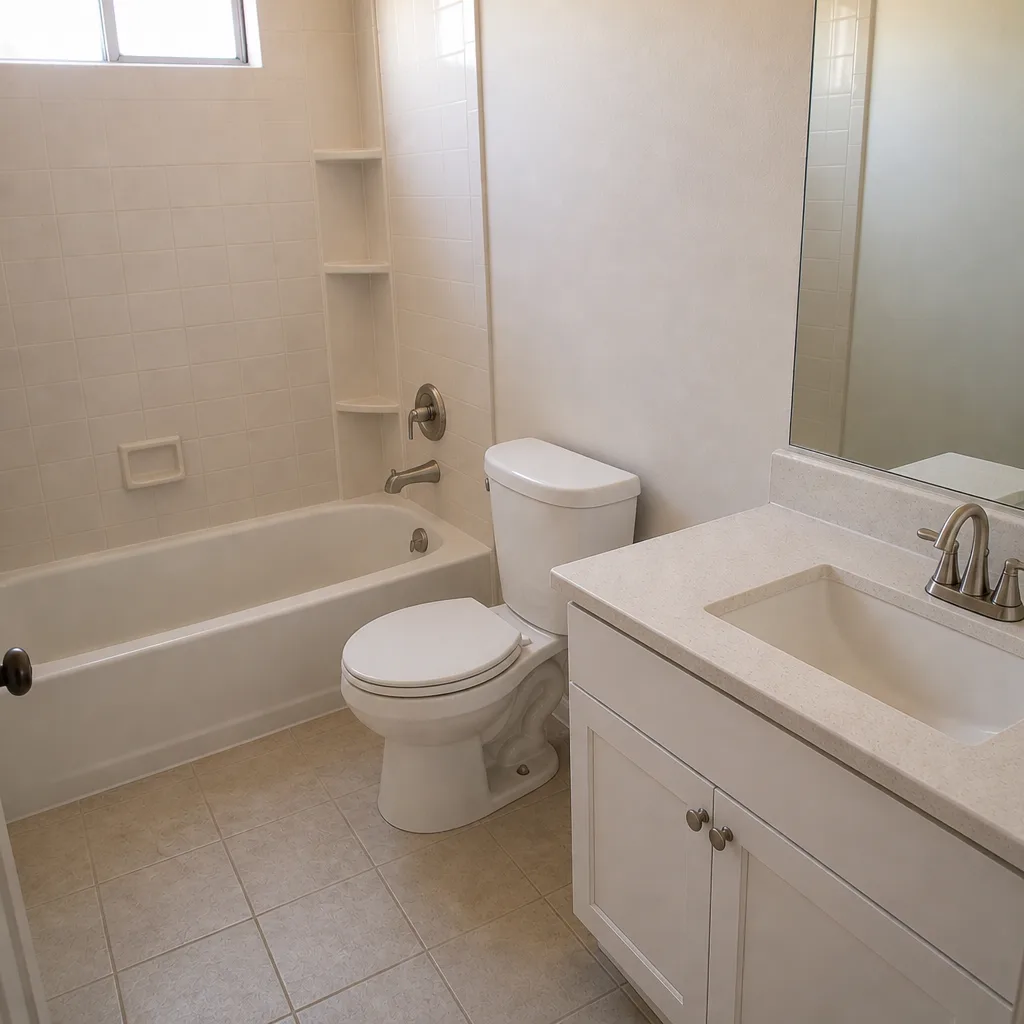 After
When to Call a Professional
Call a professional the moment a task touches the waterproofing layer, a supply or drain line, the electrical circuit, or requires a permit. That covers shower pans, niche waterproofing, drain relocation, any electrical change, and any structural adjustment to a bathroom wall. It also covers the hybrid project where you’d rather not manage multiple trades and inspections on your own time. If the task list runs more than two or three items in the wet zone, the coordination cost alone justifies bringing in a general contractor. Penhallow Remodeling Whitney offers free written estimates in Whitney – give us a call at (833) 721-7402 and we’ll walk through what’s safe to keep and what should go to a licensed trade.
Frequently Asked Questions
Demolition, painting, vanity swaps that don’t move the plumbing, and like-for-like fixture replacements are the reliably safe DIY tasks. These have low technical risk and cheap redo costs if something goes wrong. Waterproofing, drain work, and electrical are the three categories to hand off.
No. Nevada requires plumbing work to be performed by a licensed plumber, and that applies even when you’re acting as your own general contractor on your own home. Supply and drain line work needs a plumbing permit and inspection. Stick to like-for-like faucet and toilet swaps that reuse existing connections.
Usually not. A failed shower pan costs $4,000 to $8,000 to remediate once the subfloor and framing are involved, which erases far more than the $800 to $1,500 you’d save on labor. If you want to try tiling, practice on a dry backsplash or a bathroom floor outside the wet zone, not the shower pan.
A typical Whitney bathroom remodel runs around $18,000 to $35,000 for a full gut depending on size, finish level, and whether the layout moves. Cosmetic refreshes with no plumbing or electrical changes land lower. Call (833) 721-7402 for a free written estimate specific to your bathroom – the number we quote is the number on the invoice.
Most failures come down to three things: missing rough-in inspections before walls close, plumbing or electrical work done without a licensed trade, and waterproofing details that don’t meet the manufacturer’s spec. Inspectors check the wet and electrical work closely because that’s where the real risk sits.
It can work if you’re comfortable managing permits, inspections, trade scheduling, and cleanup, and if the scope is small. For a full gut with layout changes, the coordination usually outweighs the savings. A general contractor carries the sequence and the written guarantee, which is worth more than the management fee on a project this size.
The Bottom Line
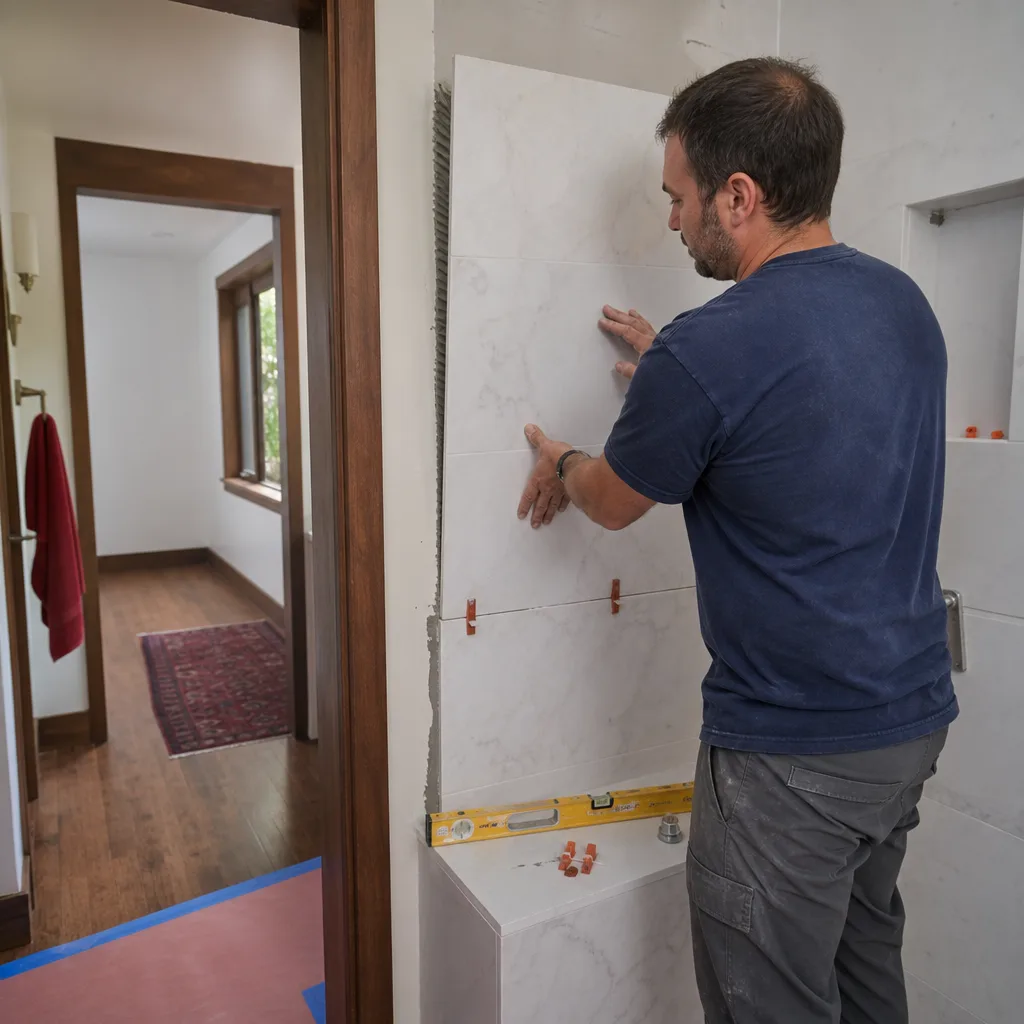
The honest line on DIY bathroom work isn’t about skill – it’s about failure cost. Tasks where a mistake is cheap to fix (paint, demo, a vanity) are worth doing yourself. Tasks where a mistake costs thousands (waterproofing, drain rough-in, electrical) are worth handing to a licensed trade, and in Nevada the plumbing and electrical ones are the law anyway. Build your hybrid project around the three questions, pull permits before demo, and get rough-in inspections signed off before walls close. If you’d rather hand off the coordination and the wet-zone work, our Whitney bathroom remodeling team gives you a written price before work starts and a 365-Day Done Right Promise on every job. Call (833) 721-7402 for a free estimate and we’ll tell you straight which parts of your bathroom are worth doing yourself.
Written by the team at Penhallow Remodeling Whitney.